Simple Starbucks Pumpkin Scones: Your Cozy Fall Delight
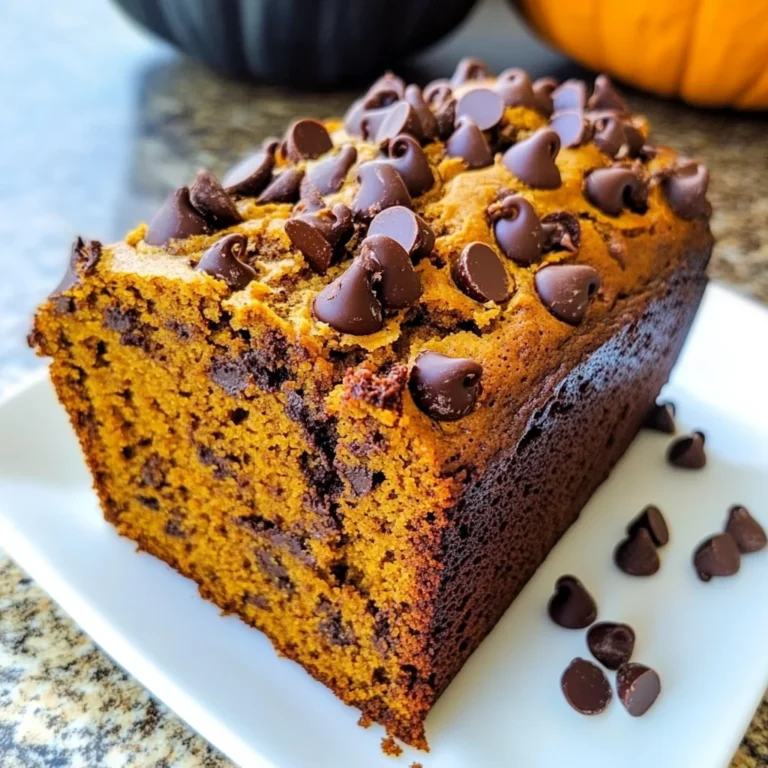
There’s nothing quite like sinking your teeth into a warm, flaky scone that bursts with the cozy flavors of fall. These Simple Starbucks Pumpkin Scones are not only deliciously spiced and perfectly sweet but also packed with 220 calories that make them a satisfying treat any time of day. When I created this recipe, I wanted to capture that beloved Starbucks essence while ensuring they were easy to whip up during our hectic mornings. They’re crispy on the outside, tender on the inside, and loaded with protein to keep you fueled for whatever the day brings.
I’ll never forget the first time I made these scones; it was a crisp October Saturday, and my kids were buzzing with excitement about Halloween. As soon as they caught a whiff of those freshly baked pumpkin scones wafting through the kitchen, my youngest exclaimed, “Are we having a party?!” The secret ingredient that sets these apart is real pumpkin puree, which gives them that rich flavor and moist texture. After devouring their first scone, both my teenagers asked if we could make them every weekend—talk about a win in my book!
Ingredients for the Simple Starbucks Pumpkin Scones
Each ingredient in this dish plays an essential role in flavor and texture. Here’s what you’ll need:
2 cups all-purpose flour: Provides structure and a tender crumb to the scones.
1 tablespoon baking powder: Ensures the scones rise beautifully and become light.
1 teaspoon ground cinnamon: Infuses warm, cozy spice that complements the pumpkin.
1 teaspoon ground nutmeg: Adds a rich, aromatic note that enhances the fall flavors.
1/2 teaspoon salt: Balances sweetness and brings out the other flavors.
1/4 cup granulated sugar: Sweetens the scones just enough for a delightful treat.
1 cup canned pumpkin puree: Contributes moisture and a rich, earthy flavor.
1/4 cup heavy cream: Adds richness and helps create a tender texture.
1 large egg: Acts as a binder while adding moisture and richness.
1/2 teaspoon vanilla extract: Enhances the overall flavor with a hint of sweetness.
1 tablespoon milk: Used for brushing on top to promote browning during baking.
1 tablespoon granulated sugar: Sprinkled on top for a sweet crunch that finishes the scones perfectly.
Step-by-Step Instructions
I recommend starting by preheating your oven to 400°F (200°C) and lining your baking sheet with parchment paper. This ensures that your scones will bake evenly and saves you time later, as the oven will be ready when you’re finished preparing the dough.
Step 1: Preheat your oven to 400°F (200°C) and line a baking sheet with parchment paper. This step is crucial because it allows the scones to bake properly without sticking, ensuring they come out golden brown and perfectly shaped. The parchment paper also makes for easy cleanup afterward.
Step 2: In a mixing bowl, whisk together the flour, baking powder, cinnamon, nutmeg, salt, and sugar until well combined. Make sure there are no lumps in the mixture; this helps create a light texture in your scones. I usually use a whisk for this step as it aerates the dry ingredients, allowing for better rising during baking.
Step 3: In another bowl, mix the pumpkin puree, heavy cream, egg, and vanilla extract until smooth. It’s essential to fully combine these ingredients so that the flavors meld together beautifully. I find that using a whisk here works best too; it breaks up any clumps of pumpkin and ensures even distribution throughout the dough.
Step 4: Add the wet ingredients to the dry ingredients and mix until just combined. Do not overmix; otherwise, your scones may become tough instead of tender. The goal is to have a slightly shaggy dough with some flour still visible—this is perfectly fine!
Step 5: Turn the dough out onto a floured surface and shape it into a circle about 1 inch thick. Cut into wedges and place on the prepared baking sheet. I like to use a bench scraper for transferring my dough; it keeps everything neat and helps maintain the shape of the scones as you cut them.
Step 6: Brush the tops of the scones with milk and sprinkle with sugar. This step not only adds sweetness but also gives your scones a lovely glossy finish when baked. You can use a pastry brush or simply dip your fingers in milk if you don’t have one on hand—just make sure they’re evenly coated for that beautiful presentation!
Step 7: Bake in the preheated oven for 18-20 minutes or until golden brown. Keep an eye on them during baking; they should rise nicely and develop a rich golden color on top—this indicates they are perfectly cooked through without being dry.
Step 8: Allow the scones to cool for a few minutes before serving. Enjoy warm or at room temperature! I recommend serving them fresh out of the oven if possible; there’s nothing quite like warm pumpkin scones paired with coffee or tea on a chilly fall day!
What to Serve with Simple Starbucks Pumpkin Scones
This dish is already incredibly filling and balanced, but these sides add extra variety and nutrition to round out your meal perfectly.
Maple Glazed Brussels Sprouts: These roasted Brussels sprouts are drizzled with a sweet maple glaze and sprinkled with pecans for added crunch. The earthy flavor of the Brussels sprouts beautifully complements the spices in the scones, while the maple adds a touch of sweetness that echoes the pumpkin. Plus, they’re rich in vitamins K and C, making them a nutritious side that my family loves during fall gatherings.
Cranberry Quinoa Salad: A refreshing salad made with fluffy quinoa, tart cranberries, diced apples, and a light lemon vinaigrette brings a bright contrast to the autumn flavors of the scones. Not only does it provide a chewy texture that balances the scone’s softness, but it also adds around 8 grams of protein per serving along with fiber from the quinoa—perfect for a nutritious lunch or dinner pairing.
Avocado Toast with Feta: Whole grain bread topped with smashed avocado and crumbled feta offers healthy fats and creamy goodness that pairs well with the spiced scones. The saltiness of the feta contrasts nicely against the sweetness of the pumpkin, while providing about 5 grams of protein, making it an ideal choice for a hearty breakfast option when I’m prepping meals for busy mornings.
Spiced Sweet Potato Wedges: Roasted sweet potato wedges tossed in cinnamon and smoked paprika bring another layer of warmth to your plate. Their natural sweetness echoes the pumpkin flavor while adding a satisfying crunch that complements the tender scones. With each serving packing about 4 grams of fiber, this side not only rounds out your meal but also keeps you feeling full longer—something my kids appreciate after school snacks!
Storage & Serving Tips

To store your Simple Starbucks Pumpkin Scones effectively, place them in an airtight container in the refrigerator for up to 4 days. If you’ve made a batch, consider storing any leftover scones separately from the topping components to maintain their texture. Keep the topping ingredients, specifically the milk and granulated sugar, in individual small containers so they stay fresh and ready for use when you’re ready to enjoy your scones.
When reheating, place the scones back in a preheated oven at 350°F for about 5–7 minutes until warmed through. This method helps restore their tender crumb while keeping the exterior pleasant. Avoid microwaving, as it tends to make the scones soft and less enjoyable. The toppings can be added fresh right before serving to enhance the flavor and presentation.
Pro tip: For those looking to maximize their meal prep, consider doubling this recipe on a Sunday and portioning the scones into individual containers for easy grab-and-go breakfasts throughout the week. Family members can self-assemble their own servings by combining different topping options like cream cheese or maple glaze alongside the basic milk and sugar mix. To keep things interesting, try swapping out pumpkin puree with butternut squash puree or using coconut milk instead of heavy cream for a dairy-free option. Finally, store your toppings separately to ensure they remain fresh and flavorful until you’re ready to enjoy your scones!
Conclusion
These Simple Starbucks Pumpkin Scones have become a regular rotation recipe for me, and I make them at least once a week because they’re not only delicious but also pack in 220 calories of pure comfort. The use of canned pumpkin puree adds that rich, moist texture that sets them apart from typical dry scones you might find elsewhere. Give this one a try this week. I promise it’ll become a regular rotation meal in your house too.

Simple Starbucks Pumpkin Scones
Ingredients
Method
- Preheat the oven to 400°F (200°C) and line a baking sheet with parchment paper.
- In a mixing bowl, whisk together the flour, baking powder, cinnamon, nutmeg, salt, and sugar until well combined.
- In another bowl, mix the pumpkin puree, heavy cream, egg, and vanilla extract until smooth.
- Add the wet ingredients to the dry ingredients and mix until just combined. Do not overmix.
- Turn the dough out onto a floured surface and shape it into a circle about 1 inch thick. Cut into wedges and place on the prepared baking sheet.
- Brush the tops of the scones with milk and sprinkle with sugar.
- Bake in the preheated oven for 18-20 minutes or until golden brown.
- Allow the scones to cool for a few minutes before serving. Enjoy warm or at room temperature.