Garlic Bread Rolls: Soft, Buttery Goodness for Everyone
There’s nothing quite like the irresistible aroma of freshly baked Garlic Bread Rolls wafting through your kitchen, tempting everyone to gather around. These rolls are soft, buttery, and loaded with that perfect garlic flavor, making them an absolute must-have side dish or appetizer. I created this recipe during one of those busy weeks when meal prepping felt essential; I wanted something that not only satisfied cravings but also fit into our family’s active lifestyle with a solid 6 grams of protein per roll. Honestly, they’re the kind of treats that make even the busiest days feel special.
I still remember the first time I served these Garlic Bread Rolls at a family gathering on a chilly Sunday evening. As soon as I pulled them out of the oven, my teenage son couldn’t resist sneaking one while they were still warm, exclaiming, “Mom, these are amazing!” What sets this recipe apart is the generous amount of roasted garlic mixed into the dough, elevating them from ordinary to extraordinary. That night, I watched as everyone rushed back for seconds and thirds—my daughter even asked if we could have these rolls every week!
Ingredients for the Garlic Bread Rolls
Each ingredient in this dish plays an essential role in flavor and texture. Here’s what you’ll need:
- 2 cups All-purpose flour (Plus extra for dusting): Forms the base of the rolls, contributing to their soft texture.
- 1 packet Active dry yeast (About 2 1/4 teaspoons): Essential for leavening, helping the rolls rise and become fluffy.
- 1 cup Warm water (Around 110°F): Activates the yeast and hydrates the flour for a perfect dough consistency.
- 1 tbsp Sugar (To activate yeast): Feeds the yeast, encouraging it to work its magic and create airy rolls.
- 1 tsp Salt: Enhances flavor and strengthens the dough structure for better texture.
- 2 tbsp Olive oil (For the dough): Adds richness and helps keep the rolls tender.
- 1/2 cup Unsalted butter (Melted): Provides a luscious coating that adds flavor and moisture to the rolls.
- 4 cloves Garlic (Minced): Infuses a bold, aromatic garlic flavor that elevates each bite.
- 1 tbsp Fresh parsley (Chopped): Adds a fresh, herbal note that brightens up the overall flavor profile.
- 1/4 tsp Salt (To taste): Balances and enhances all the flavors in the garlic butter topping.
Step-by-Step Instructions
To kick off this delicious journey, start by combining warm water, sugar, and yeast in a mixing bowl — letting it sit for 5 minutes will activate the yeast and get those bubbles going, which is crucial for a fluffy texture.
Step 1: In a mixing bowl, combine 1 cup of warm water (around 110°F), 1 tablespoon of sugar, and 1 packet of active dry yeast. Let this mixture sit for about 5 minutes until it becomes frothy. This step is essential because it ensures that the yeast is activated properly, setting the stage for your rolls to rise beautifully.
Step 2: Once the yeast mixture is frothy, add in 2 cups of all-purpose flour, 1 teaspoon of salt, and 2 tablespoons of olive oil. Mix everything together until a dough begins to form. At this point, you might want to use a spatula or your hands to help incorporate all the ingredients well — you’re looking for a cohesive dough.
Step 3: Transfer the dough onto a floured surface and knead it for about 8-10 minutes until it becomes smooth and elastic. This kneading process is not just exercise; it’s where you’ll develop gluten that gives your rolls their wonderful structure. I usually let my kids take turns kneading; it makes them feel involved and helps build anticipation for the meal!
Step 4: After kneading, place the dough into a greased bowl and cover it with a cloth. Let it rise in a warm place for about 1 hour or until it doubles in size. This rising time is critical as it allows air pockets to form, making your rolls light and airy. If your kitchen is cooler, try placing the bowl near an oven that’s preheating or on top of the fridge — warmth really helps!
Step 5: Preheat your oven to 375°F (190°C). While it’s heating up, punch down the risen dough gently to release some air. Divide the dough into 12 equal pieces and shape each piece into a roll. I find that using a bench scraper can make dividing easier and more precise.
Step 6: Place these shaped rolls on a baking sheet lined with parchment paper. Cover them again with a cloth and let them rise for another 30 minutes. This second rise gives your rolls even more lift — I always look forward to how fluffy they turn out after this step!
Step 7: Once they’ve risen nicely, bake the rolls in your preheated oven for about 15 minutes or until they turn golden brown on top. Keep an eye on them towards the end; you want that beautiful golden color on top which indicates they’re perfectly baked through.
Step 8: While the rolls are baking, prepare the garlic butter topping by mixing together 1/2 cup of melted unsalted butter, minced garlic from about four cloves, chopped fresh parsley (1 tablespoon), and salt (1/4 teaspoon). The aroma from this mixture will be fantastic as they bake!
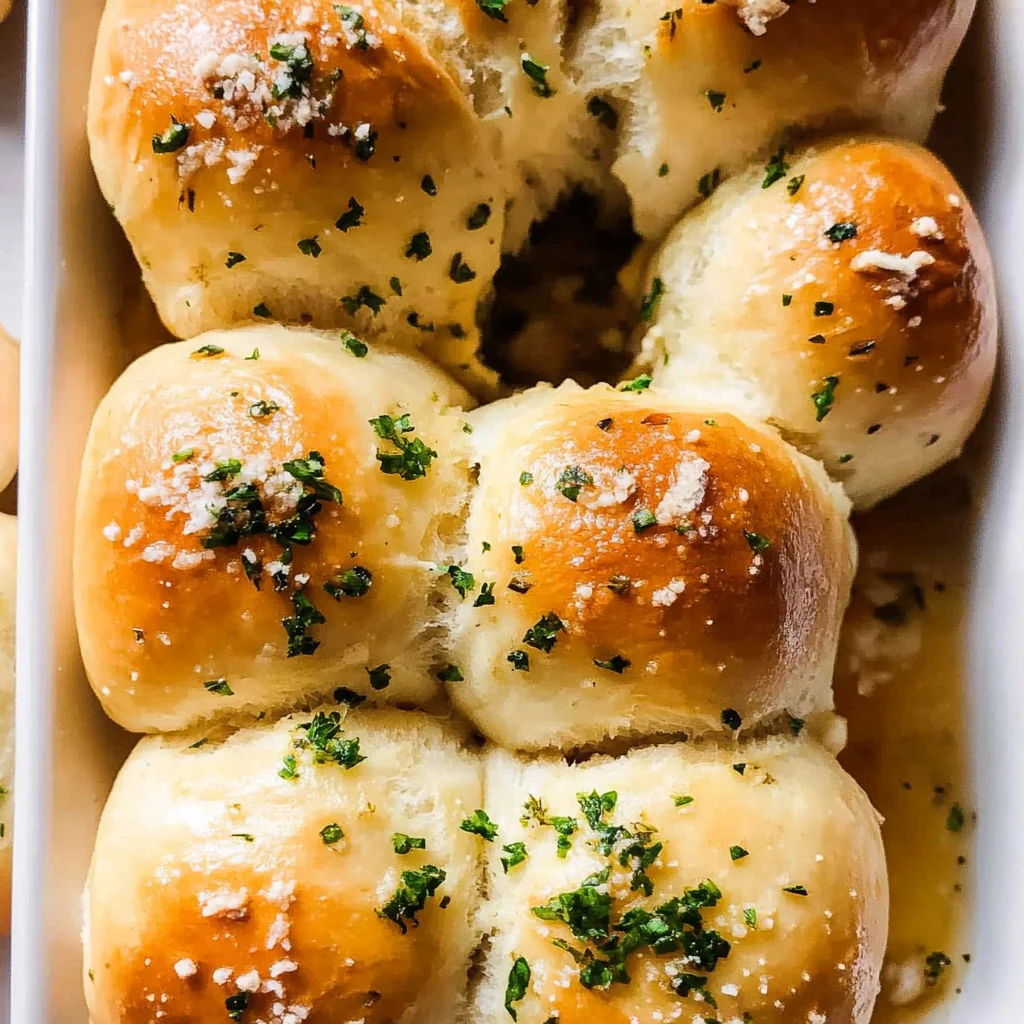
Step 9: As soon as you pull those warm rolls from the oven, brush them generously with your garlic butter mixture right away. This final touch not only adds flavor but also gives them that gorgeous shine! Enjoy every bite knowing you’ve crafted something truly special!
What to Serve with Garlic Bread Rolls
This dish is already incredibly filling and balanced, but these sides add extra variety and nutrition to round out your meal perfectly.
Caesar Salad: Crisp romaine lettuce, crunchy croutons, and a creamy Caesar dressing make for a refreshing contrast to the rich garlic bread rolls. The salad’s tangy flavors complement the buttery notes of the rolls while providing essential vitamins A and C, which are crucial for overall health. My kids love this salad as it makes the perfect addition during family dinners, adding a nutritious crunch.
Lemon Herb Quinoa: Fluffy quinoa tossed with fresh herbs and a splash of lemon juice is a light yet satisfying side that brings a bright flavor profile to your meal. Its nutty taste enhances the garlic-infused rolls while contributing an impressive 8 grams of protein per cup, making it an excellent option for those focusing on their macros. We often prep a big batch of quinoa at the start of the week so we can enjoy it as a side throughout busy nights.
Avocado Cilantro Salsa: A fresh salsa made with ripe avocados, cilantro, diced tomatoes, and lime packs healthy fats and vibrant flavors that echo the garlic butter topping of the rolls. This combination not only adds a creamy texture but also provides heart-healthy monounsaturated fats that keep you satiated. My family loves spooning this salsa over everything, making it a go-to for our taco nights or barbecues.
Roasted Vegetable Medley: A mix of seasonal vegetables like zucchini, bell peppers, and carrots roasted until caramelized adds depth to your meal with its sweet and savory flavors. The contrast in texture provides a nice balance to the soft bread rolls while delivering valuable nutrients like fiber and antioxidants. I love preparing this medley ahead of time; it’s versatile enough to pair with multiple dishes throughout the week.
Storage & Serving Tips
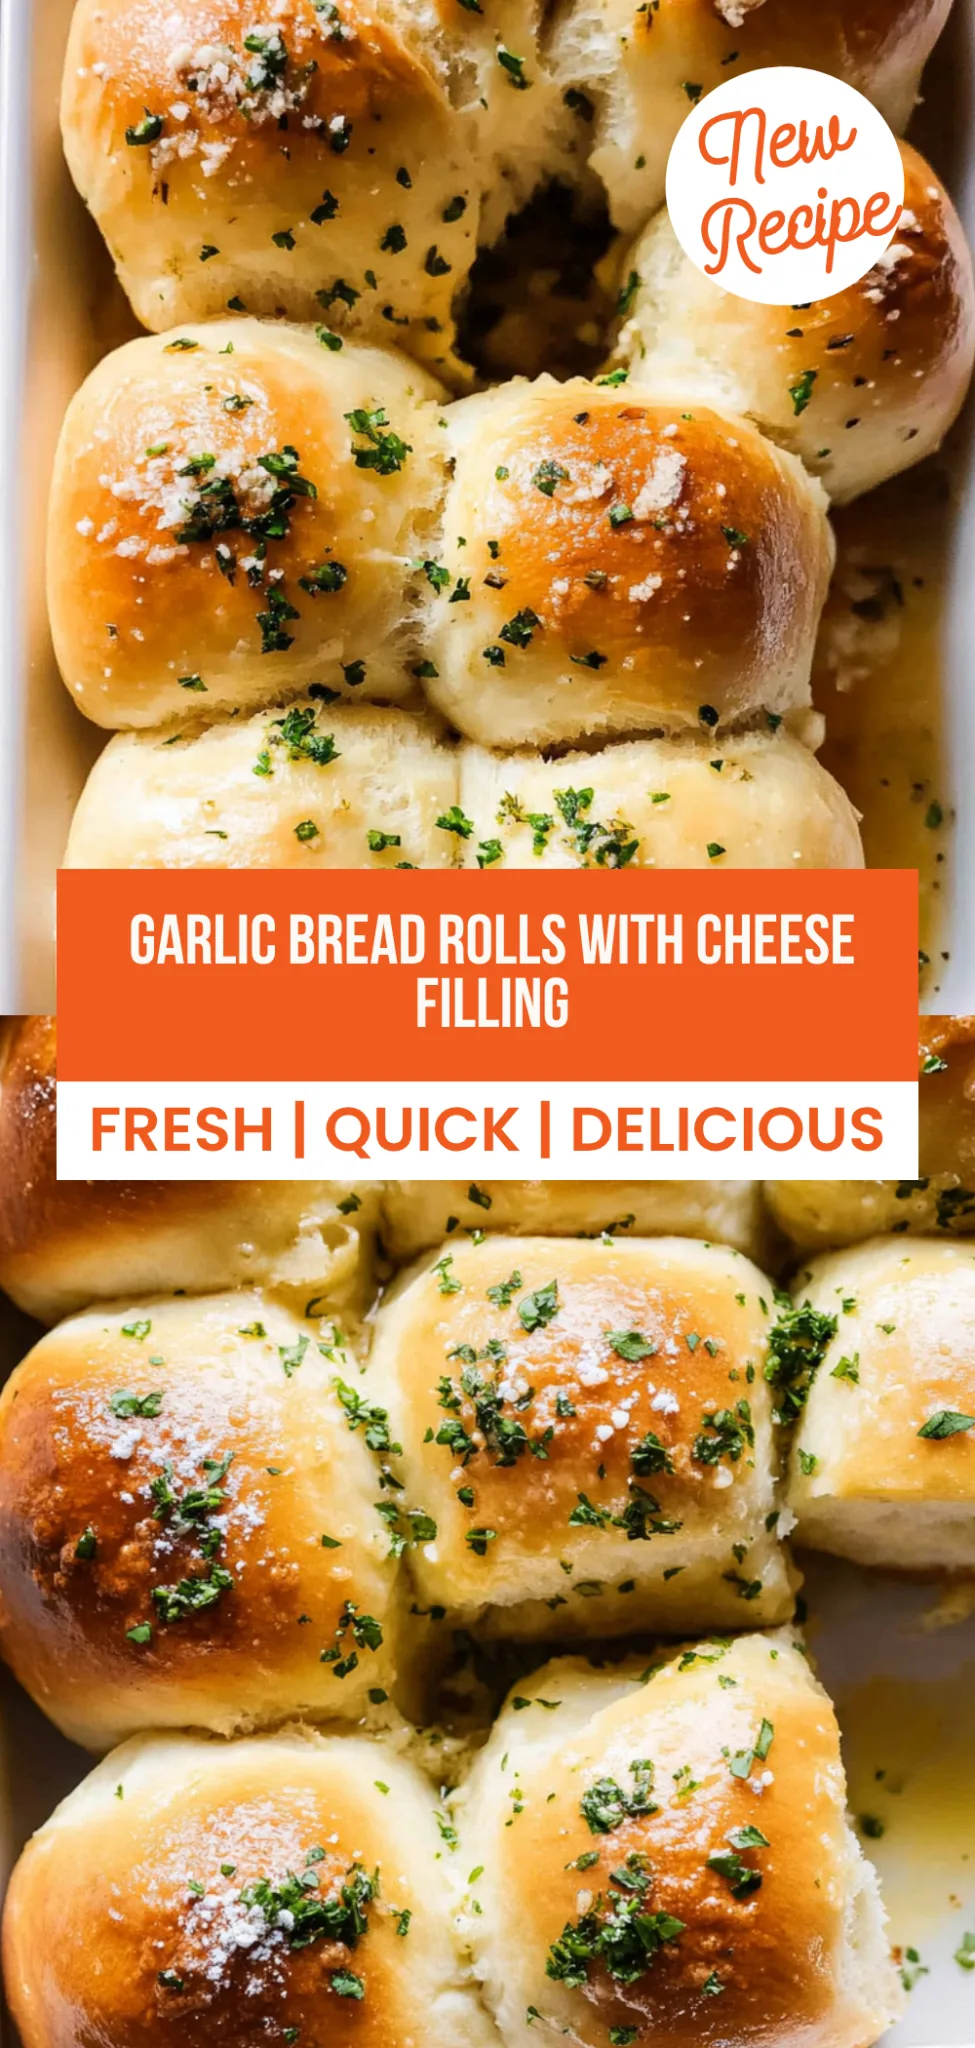
To store your garlic bread rolls for meal prep, place them in an airtight container in the fridge where they will keep for up to 4 days. For the best flavor, separate the garlic butter topping from the bread rolls. Store the melted butter mixed with minced garlic, chopped parsley, and salt in a small jar or container, ensuring it’s sealed tightly to maintain its freshness.
When reheating, preheat your oven to 350°F and warm the rolls for about 8–10 minutes until they’re heated through and slightly crispy on the outside. If you’re reheating the garlic butter topping, do so on the stovetop over low heat just until warmed, as microwaving can cause it to separate and lose its flavor. Avoid using the microwave for the rolls themselves; doing so makes them soft and disappointing.
Pro tip: To batch cook this recipe for the week, consider doubling the ingredients—using 4 cups of all-purpose flour and adjusting your yeast accordingly—and divide them into individual containers after cooking. Family members can enjoy customizing their meals by adding different toppings or sides like marinara sauce or cheese. For variety, swap out parsley for fresh basil or use garlic powder instead of minced garlic in your topping mix. To keep your garlic butter topping flavorful during meal prep storage, make sure to store it separately from the rolls and only drizzle it over right before serving.
Conclusion
These Garlic Bread Rolls have become a staple in my kitchen, and I find myself whipping them up at least twice a month because they’re not only mouthwateringly delicious but also offer a satisfying 180 calories per roll. The key to their incredible softness is the combination of warm water and active dry yeast, which creates that perfect fluffy texture that sets them apart from your typical bread rolls. Give this one a try this week. I promise it’ll become a regular rotation meal in your house too.
Garlic Bread Rolls
Ingredients
Method
- In a mixing bowl, combine warm water, sugar, and yeast. Let it sit for 5 minutes until frothy.
- Add flour, salt, and olive oil to the yeast mixture. Mix until a dough forms.
- Knead the dough on a floured surface for about 8-10 minutes until smooth and elastic.
- Place the dough in a greased bowl, cover with a cloth, and let it rise in a warm place for 1 hour or until doubled in size.
- Preheat the oven to 375°F (190°C).
- Punch down the risen dough and divide it into 12 equal pieces. Shape each piece into a roll.
- Place the rolls on a baking sheet lined with parchment paper. Cover and let rise for another 30 minutes.
- Bake in the preheated oven for 15 minutes or until golden brown.
- While the rolls are baking, mix melted butter, minced garlic, parsley, and salt in a bowl.
- Brush the garlic butter over the warm rolls immediately after baking.