Breadstick Snakes: Spooky and Savory Halloween Treats
Get ready for a deliciously spooky twist on your traditional breadsticks! These Breadstick Snakes are not only fun to look at, but they’re also crispy, savory, fresh, and loaded with protein—each serving packs around 150 calories. I created this whimsical recipe during one of our busy weeks leading up to Halloween when I wanted to make dinner a little more exciting for my kids. The idea was to add a touch of fun while ensuring they got plenty of protein to keep them energized for all their after-school activities.
I vividly remember the first time I made these Breadstick Snakes; it was a chilly October evening, and my teenagers were just getting home from soccer practice. As soon as they spotted the snake-shaped breadsticks slithering across the table, their faces lit up with delight. “Can we have these every week?” my youngest asked, eyes wide with excitement. The twist that makes these breadsticks unique is the addition of garlic and Parmesan cheese, giving them an irresistible flavor that keeps everyone coming back for seconds. I’ve since made them multiple times for family movie nights, and each time, I hear the same praise—there’s just something about these spooky snacks that brings us all together!
Ingredients for the Breadstick Snakes
Each ingredient in this dish plays an essential role in flavor and texture. Here’s what you’ll need:
- 1 cup warm water (about 110°F): Activates the yeast for the perfect rise.
- 2 teaspoons active dry yeast: The leavening agent that gives the breadsticks their airy texture.
- 2 tablespoons sugar: Enhances browning and adds a hint of sweetness.
- 3 cups all-purpose flour (plus more for dusting): Provides structure and chewiness to the dough.
- 1 teaspoon salt: Balances flavors and strengthens the dough.
- 2 tablespoons olive oil: Adds richness and helps create a tender crumb.
Decorations
- 1 cup black olives (sliced for eyes): Gives a fun and spooky touch to each snake.
- 1 tablespoon parsley (chopped for garnish): Offers a pop of color and freshness.
Step-by-Step Instructions
I recommend starting by combining the warm water, yeast, and sugar in a mixing bowl since this step will take about 5 minutes to become frothy, allowing you to prep the rest of your ingredients while you wait. Once combined, let it sit for those 5 minutes until you see bubbles forming on the surface, which indicates that the yeast is active. This is crucial for creating fluffy breadsticks.
Step 1: In a mixing bowl, combine the warm water (about 110°F), yeast, and sugar. Let it sit for 5 minutes until frothy, which shows that the yeast is activated. This step is essential for ensuring your breadstick snakes have a nice rise and texture.
Step 2: After your yeast mixture is frothy, add in the flour, salt, and olive oil. Mix everything together until a dough forms; I usually use a wooden spoon to help incorporate everything well. The mixture will look rough at first but keep stirring until it comes together into a shaggy mass.
Step 3: Turn the dough out onto a floured surface and knead it for about 5 minutes until it becomes smooth and elastic. This is one of my favorite parts—getting your hands in there really helps build strength in the dough. If it’s sticking too much, don’t hesitate to dust with a little extra flour as needed.
Step 4: Once your dough is kneaded, place it in a greased bowl and cover it with a towel. Let it rise in a warm spot for about 1 hour or until doubled in size; this resting time is critical for developing flavor and texture. I often place mine near a warm oven or sunny window to speed things up.
Step 5: Preheat your oven to 375°F (190°C) now so it’s ready when your snakes are formed. Punch down the risen dough to release excess gas and then divide it into 8 equal pieces—this will ensure each snake bakes evenly. I like using a bench scraper here; it makes dividing the dough much easier.
Step 6: Roll each piece into a long snake shape that’s about 12 inches long. Make sure to taper one end slightly to form the head of the snake; this gives them more character! My kids love helping with this part—they enjoy making their snakes unique!
Step 7: Place each shaped snake on a greased baking sheet, leaving some space between them as they will expand during baking. Using about a half-sheet pan works perfectly for this recipe since it can hold all eight snakes comfortably without crowding.
Step 8: Use a sharp knife to make small slits along the body of each snake to create scales—this detail really enhances their appearance! Don’t worry if they’re not perfect; I think the imperfections add charm and make them look even spookier.
Step 9: Add olive slices as eyes on one end of each snake; this simple decoration transforms them into fun creatures! I find that placing them slightly off-center gives them an adorable yet creepy look that’s perfect for Halloween celebrations.
Step 10: Bake your snakes in that preheated oven for about 15-20 minutes until golden brown. Keep an eye on them toward the end—their color should be rich and inviting but not overly dark. When they’re done, they’ll have that lovely aroma wafting through your kitchen!
Step 11: Once baked, remove them from the oven and let cool slightly on the baking sheet before transferring them to a wire rack—this allows any residual steam to escape so they stay crispier.
Step 12: Finally, garnish with chopped parsley before serving; this adds not only color but also freshness that complements those savory breadsticks beautifully! Your spooky Breadstick Snakes are now ready for devouring at your next party!
What to Serve with Breadstick Snakes
This dish is already incredibly filling and balanced, but these sides add extra variety and nutrition to round out your meal perfectly.
Zesty Garden Salad: A fresh mix of romaine lettuce, cherry tomatoes, cucumbers, and a tangy vinaigrette brings a light crunch to the table. The crisp vegetables contrast beautifully with the soft texture of the Breadstick Snakes while also providing an array of vitamins A and C for added nutrition. My kids love this salad, especially when they can help pick out their favorite toppings like shredded carrots or bell peppers.
Savory Quinoa Pilaf: Fluffy quinoa cooked with sautéed onions, garlic, and a hint of lemon juice makes for a wholesome side that complements the flavors of the breadsticks. With about 8 grams of protein per cup, it adds a satisfying element to the meal while echoing the Mediterranean vibe from the olive oil used in the breadsticks. This dish is my go-to for meal prep since it keeps well throughout the week!
Creamy Avocado Dip: Made by blending ripe avocados with lime juice, garlic powder, and a sprinkle of salt, this dip offers a rich contrast to the Breadstick Snakes. The healthy fats from avocados not only enhance flavor but also deliver essential nutrients that support heart health. My family enjoys using it as both a dip for the breadsticks and as a spread for sandwiches throughout the week.
Garlic Parmesan Roasted Potatoes: Chopped baby potatoes roasted until crispy and tossed with garlic powder and grated Parmesan cheese provide a savory complement to the breadsticks. The crunchy exterior contrasts nicely with their soft insides while adding another layer of flavor to your meal. Plus, with around 4 grams of protein per serving, these potatoes are a great way to keep everyone satisfied during dinner time!
Storage & Serving Tips
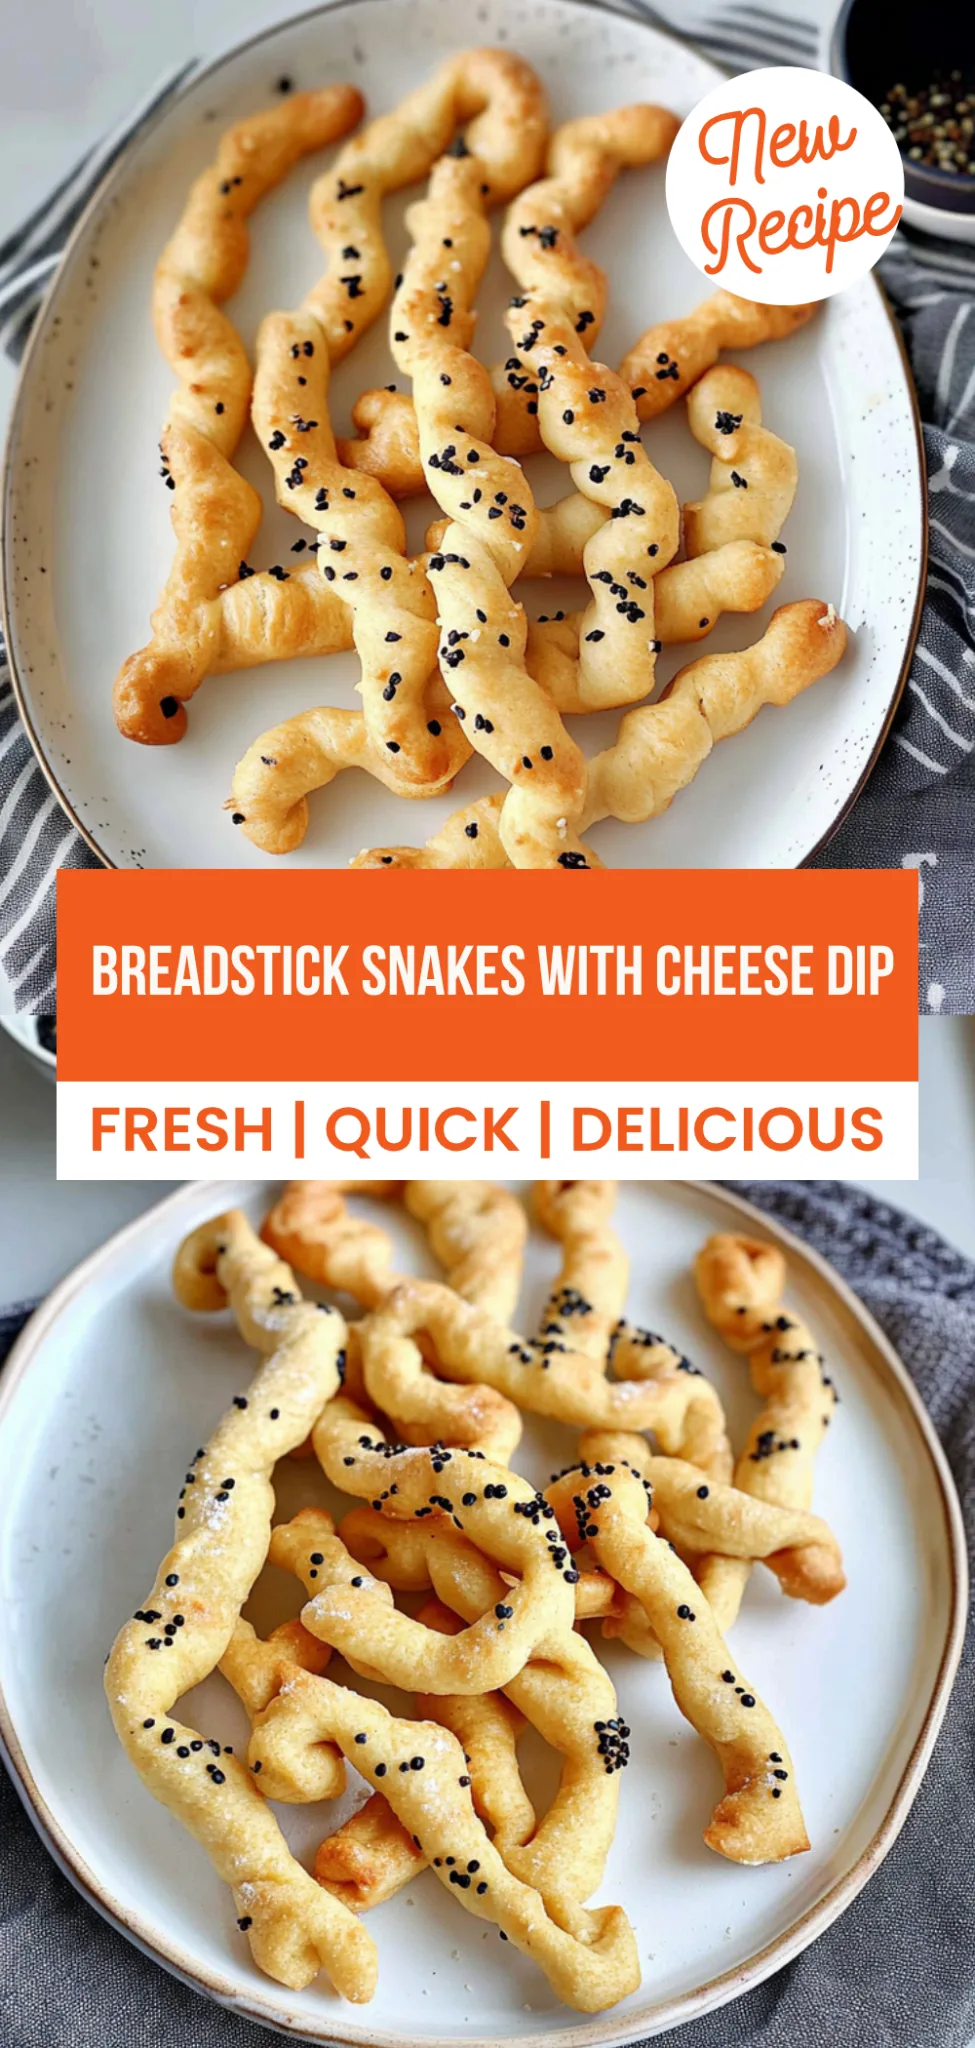
To store your Breadstick Snakes for meal prep, place the baked breadsticks in an airtight container in the fridge where they will keep well for up to 3 days. It’s best to store the black olives and parsley garnish separately in small containers to maintain their freshness—this prevents sogginess and keeps everything looking appealing. If you plan to make extra breadstick dough, consider storing it uncooked; wrap it tightly in plastic wrap and refrigerate it for up to 24 hours, or freeze it for longer storage.
When reheating, simply pop the breadsticks back into a preheated oven at 350°F for about 5–7 minutes until they are warmed through and regain their original texture. Avoid using the microwave for reheating as it will make them soft and disappointing. If you have any leftover black olives, you can add them directly on top of the breadsticks during the last minute of reheating to warm them slightly without compromising their texture.
Pro tip: To batch cook this recipe for the week, double the ingredients of your Breadstick Dough and portion it into individual containers after baking. Family members can then self-assemble their own servings by adding fresh toppings like sliced olives and parsley right before eating. For variety throughout the week, swap black olives with sun-dried tomatoes or add a sprinkle of grated cheese on top before baking. To keep your breadsticks at their best during meal prep storage, make sure to store any decorations separately until you’re ready to serve.
Conclusion
These Breadstick Snakes have become a staple in my kitchen, and I whip them up at least twice a month because they’re not only fun to make but also deliver 150 calories of deliciousness that everyone loves. The secret lies in the warm water used to activate the yeast, which gives these breadsticks a soft and fluffy texture that sets them apart from typical party snacks. Trust me, you need to give this one a try this week. I promise it’ll become a regular rotation meal in your house too.
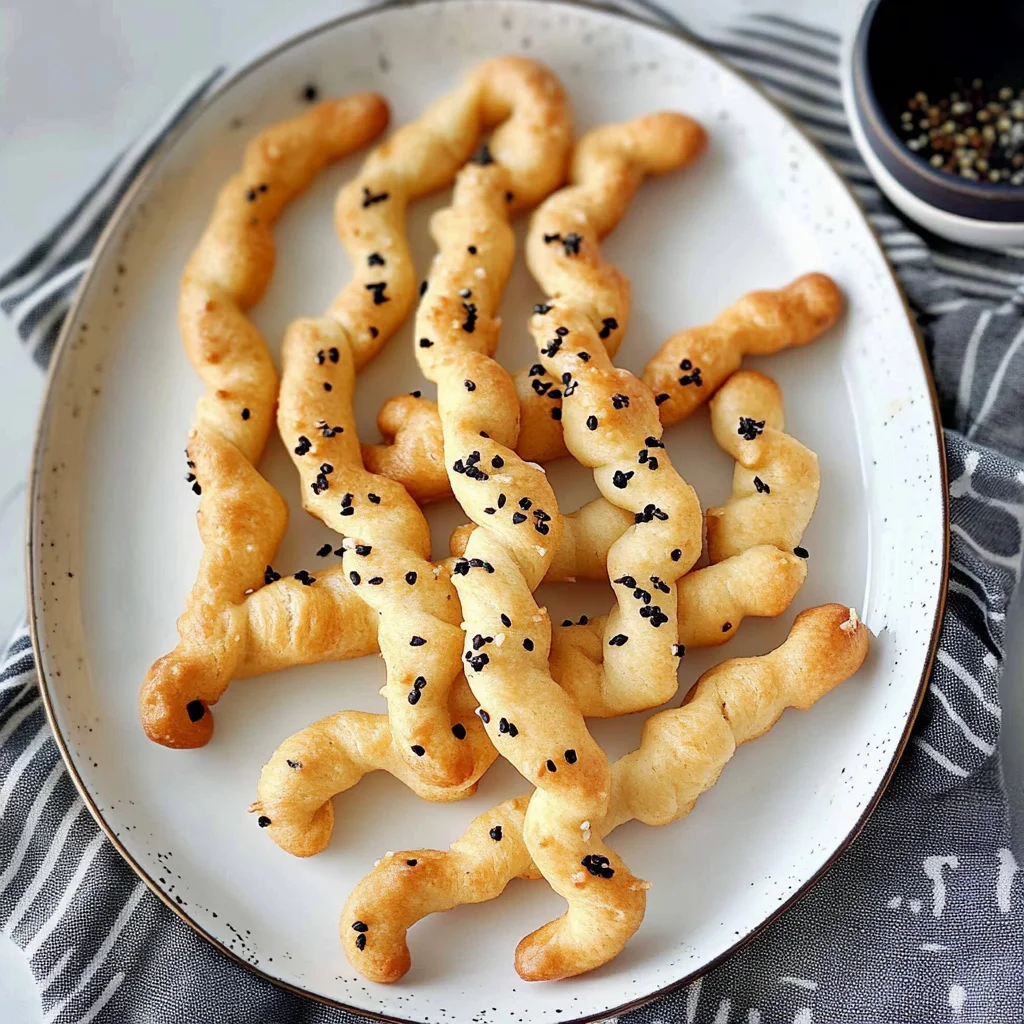
Breadstick Snakes
Ingredients
Method
- In a mixing bowl, combine warm water, yeast, and sugar. Let it sit for 5 minutes until frothy.
- Add flour, salt, and olive oil to the yeast mixture. Mix until a dough forms.
- Knead the dough on a floured surface for about 5 minutes until smooth.
- Place the dough in a greased bowl, cover with a towel, and let it rise for 1 hour or until doubled in size.
- Preheat the oven to 375°F (190°C).
- Punch down the risen dough and divide it into 8 equal pieces.
- Roll each piece into a long snake shape, about 12 inches long.
- Place the shaped snakes on a greased baking sheet.
- Use a knife to make small slits along the body to create scales.
- Add olive slices as eyes on one end of each snake.
- Bake in the preheated oven for 15-20 minutes until golden brown.
- Remove from the oven and let cool slightly.
- Garnish with chopped parsley before serving.