Wild Forest Classic Dirt Pudding Cake: Indulgent Delight
There’s nothing quite like the indulgence of a rich, decadent chocolate cake layered with velvety pudding and topped with crushed cookies that mimic a forest floor. Imagine sinking your fork into this Wild Forest Classic Dirt Pudding Cake, where every bite is a delightful experience of creamy, crunchy, sweet, and satisfying. I created this dessert during one of those busy weeks when I wanted to treat my family without compromising on flavor or nutrition; after all, it packs in 10 grams of protein per serving while still being a total showstopper. It’s the ideal way to satisfy cravings while ensuring a little extra goodness sneaks into our dessert time.
I remember the first time I made this cake like it was yesterday. It was a chilly Saturday afternoon in October when my kids were out playing in the leaves, and I decided to surprise them with something special. As I pulled the finished Wild Forest Classic Dirt Pudding Cake from the fridge, my youngest exclaimed, “Wow, Mom! It looks like a real forest!” The secret twist that sets this dessert apart is using whole-grain cookies for that earthy crunch on top. When I served it up, my teenagers couldn’t get enough—one of them even asked for seconds while grinning from ear to ear, declaring it their new favorite treat!
Ingredients for the Wild Forest Classic Dirt Pudding Cake
Each ingredient in this dish plays an essential role in flavor and texture. Here’s what you’ll need:
- 1 cup all-purpose flour: Provides structure and a light crumb to the cake.
- 1 cup granulated sugar: Sweetens the cake while contributing to its moistness.
- 1/2 cup unsweetened cocoa powder: Delivers rich chocolate flavor, making it decadent.
- 1 tsp baking powder: Helps the cake rise, ensuring a fluffy texture.
- 1/2 tsp baking soda: Works with the cocoa to enhance leavening and flavor depth.
- 1/4 tsp salt: Balances sweetness and enhances overall taste.
- 1 large egg: Binds ingredients together while adding moisture and richness.
- 1/2 cup milk: Adds creaminess and helps create a tender crumb.
- 1/4 cup vegetable oil: Keeps the cake moist and adds a soft texture.
- 1 tsp vanilla extract: Infuses warmth and complexity into the chocolate flavor.
- 2 cups chocolate pudding mix: Creates a luscious layer that intensifies chocolate richness.
- 4 cups milk: Combines with pudding mix for a creamy, smooth layer.
- 1 cup crushed chocolate sandwich cookies: Adds crunch and a nostalgic cookie flavor on top.
- 1 cup whipped cream (for garnish): Lightens the dessert with airy sweetness and visual appeal.
Step-by-Step Instructions
I recommend starting by preheating your oven to 350°F (175°C) because this ensures it’s hot and ready for baking when your cake batter is prepared. Grease and flour a 9-inch round cake pan to prevent sticking, making it easier to remove the cake once it’s baked. This step is crucial for achieving a clean release and avoiding any messy crumbles later on.
Step 1: In a mixing bowl, combine 1 cup of all-purpose flour, 1 cup of granulated sugar, 1/2 cup of unsweetened cocoa powder, 1 teaspoon of baking powder, 1/2 teaspoon of baking soda, and 1/4 teaspoon of salt. These dry ingredients form the base of your rich chocolate flavor. Whisk them together until well combined, ensuring that there are no lumps. I find that taking the time to thoroughly mix the dry ingredients makes for a smoother cake texture.
Step 2: Add one large egg, 1/2 cup of milk, 1/4 cup of vegetable oil, and 1 teaspoon of vanilla extract to the dry mixture. Use a whisk or an electric mixer on low speed to mix until smooth and well combined. This mixture should be glossy and free from lumps — it’s important not to overmix as this can lead to a dense cake. The egg provides structure while the oil keeps it moist.
Step 3: Pour the batter into your prepared cake pan and spread it evenly using a spatula. Bake in your preheated oven for about 30 minutes or until a toothpick inserted into the center comes out clean; you want to see moist crumbs but no wet batter clinging to it. This step builds serious flavor as the cocoa powder caramelizes slightly in the heat.
Step 4: Once baked, let the cake cool completely in the pan on a wire rack before removing it. This cooling period is essential; if you try to take it out too early, it may break apart or crumble. I usually allow mine to cool for at least 10-15 minutes before gently running a knife around the edges to loosen it.
Step 5: In a separate bowl, whisk together 2 cups of chocolate pudding mix with 4 cups of milk until thickened according to package instructions; this usually takes about 2 minutes. The pudding will add creaminess between your layers and enhance that decadent chocolate experience. Make sure there are no lumps since we want a silky texture when we layer it onto our cake.
Step 6: Refrigerate the pudding for about 10 minutes to allow it to set properly before assembly; this makes layering easier as it won’t slide off the cake too much. I often find that chilling helps with consistency — you want it thick enough to spread without oozing everywhere.
Step 7: Once your cake is cool, slice it in half horizontally using a serrated knife so you create two layers. Take your time with this step; an even cut will provide stability when stacking your layers later on. A gentle sawing motion works best here — don’t rush through this part!
Step 8: Spread half of the pudding mixture over the bottom layer of the cake evenly using a spatula or spoon. This creamy layer adds depth and moisture — plus who doesn’t love more chocolate? Be generous but ensure you leave some room at the edges so it doesn’t spill over when you add the top layer.
Step 9: Place the top layer of the cake on top of the pudding and press down gently so they adhere together slightly. Afterward, spread the remaining pudding mixture on top, creating an invitingly smooth surface that resembles a forest floor — perfect for topping with cookies!
Step 10: Sprinkle crushed chocolate sandwich cookies over the pudding layer liberally; this gives both texture and that earthy look reminiscent of forest soil. Finally, add whipped cream on top for garnish; not only does this enhance presentation but also adds a lightness against all that rich chocolate.
Step 11: Chill your assembled cake in the refrigerator for at least 30 minutes before serving; this allows everything to meld beautifully together while keeping each layer distinct. The chilling time also helps firm up those layers so every slice looks irresistible when served!
What to Serve with Wild Forest Classic Dirt Pudding Cake
This bowl is already incredibly filling and balanced, but these sides add extra variety and nutrition to round out your meal perfectly.
Mixed Green Salad with Balsamic Vinaigrette: A fresh mix of leafy greens, cherry tomatoes, and cucumbers tossed in a light balsamic vinaigrette offers a crisp contrast to the dense chocolate cake. The acidity from the dressing cuts through the richness of the pudding layers, making each bite of cake feel more indulgent. Plus, this salad is packed with vitamins A and C, which helps balance out the dessert’s sweetness.
Cilantro Lime Rice: This zesty side dish features fluffy white rice cooked with fresh cilantro and zesty lime juice, providing a refreshing counterpoint to the chocolate flavors. The rice adds another layer of texture to your meal while contributing about 4 grams of protein per serving when paired with black beans. It’s a regular at our family dinners because it’s easy to batch cook for busy weeknights.
Guacamole: Creamy avocado blended with lime juice, garlic, and a hint of salt delivers healthy fats that beautifully complement the sweetness of the Dirt Pudding Cake. The rich texture of guacamole provides a satisfying mouthfeel that balances out the cake’s density while also adding about 3 grams of protein per serving. My kids love dipping their spoons into both dishes for a unique taste experience!
Garlic Breadsticks: Soft breadsticks brushed with garlic butter offer a comforting carb option that pairs surprisingly well with dessert. The warm garlic flavor echoes the richness of the cake while providing an energy boost after enjoying the chocolatey goodness. These are always a hit at our gatherings, adding about 5 grams of protein per stick thanks to the flour base—perfect for those who appreciate a hearty meal!
Storage & Serving Tips
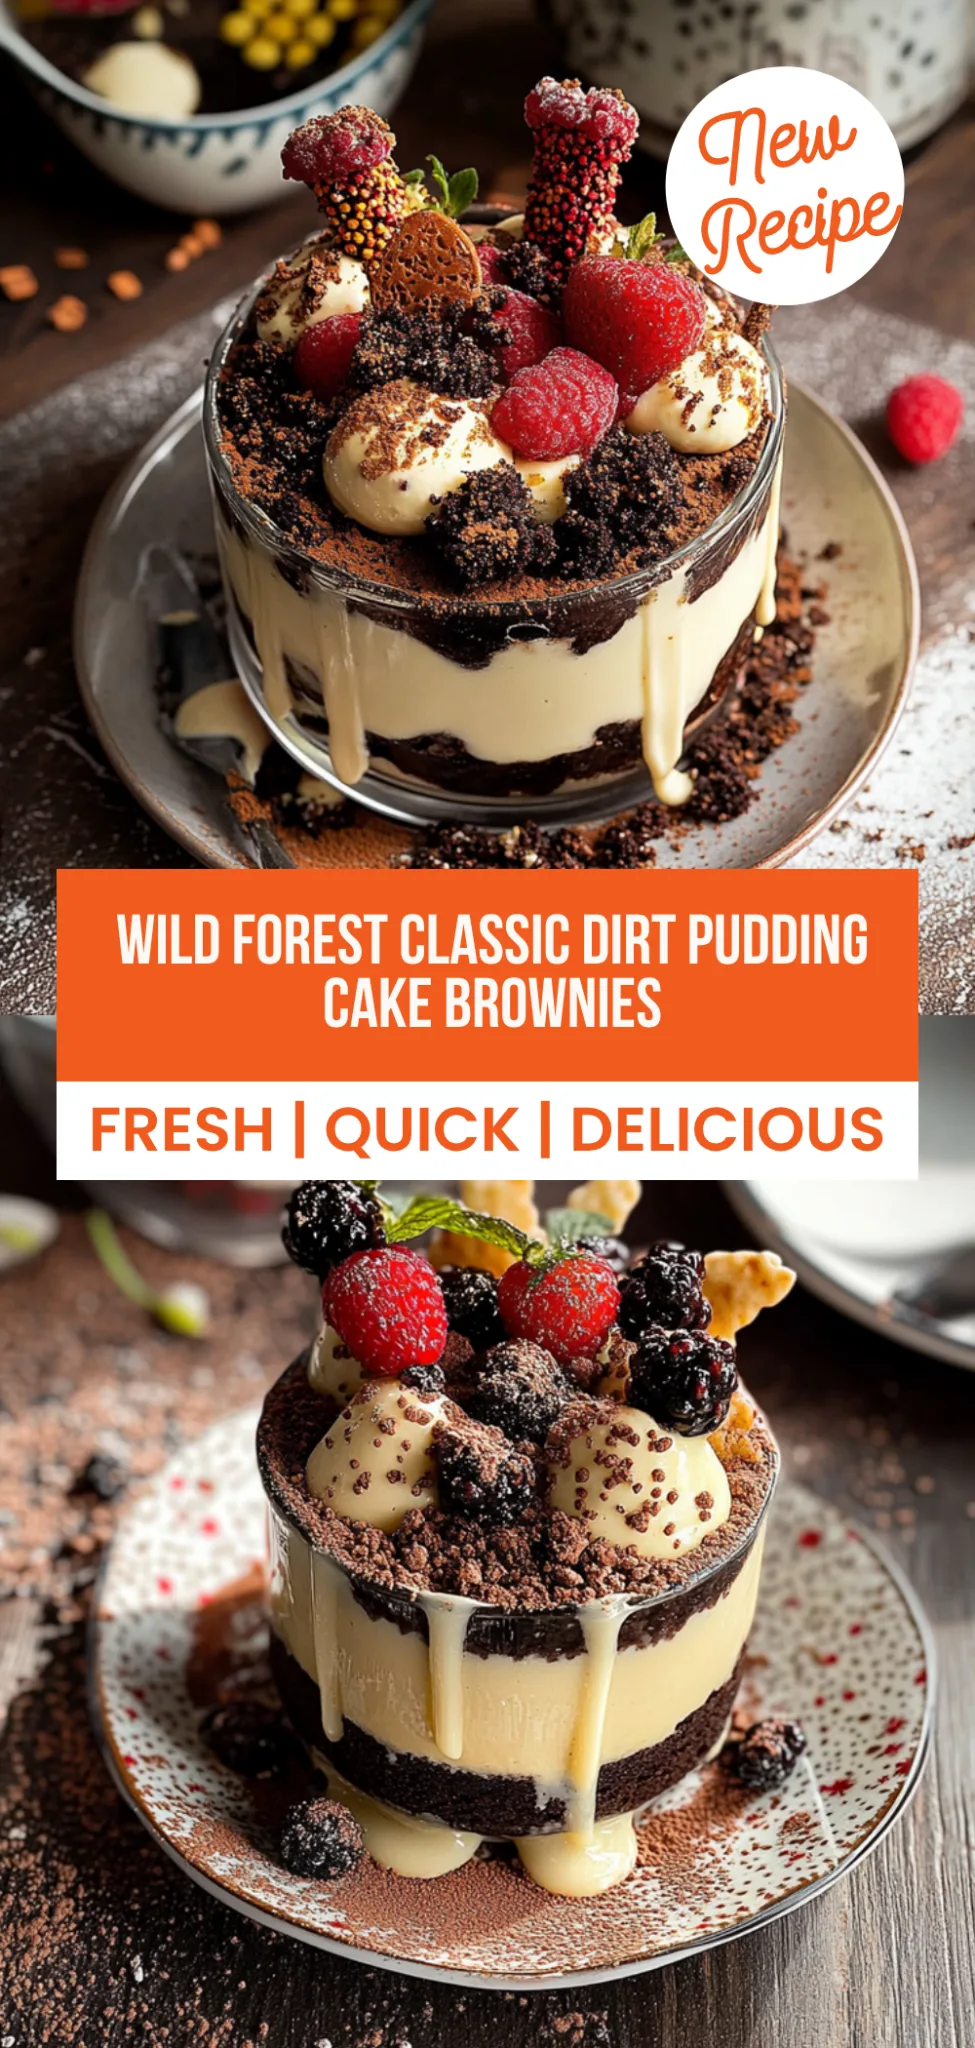
To store your Wild Forest Classic Dirt Pudding Cake, layer the cake in an airtight container and refrigerate it for up to 4 days. For optimal freshness, keep the crushed chocolate sandwich cookies and whipped cream in separate small containers. This way, the cookies maintain their crunch, and the whipped cream stays fluffy until you’re ready to serve. The pudding layer can remain with the cake since it adds moisture, but if you prefer, you can store that separately as well.
When reheating, avoid using the microwave for the cake, as it can become soggy and lose its delightful texture. Instead, place the cake in a preheated oven at 350°F for about 10 minutes to warm it through while keeping its integrity. The pudding layer can be gently reheated on the stovetop over low heat for about 5 minutes, stirring frequently. As for the whipped cream and crushed cookies, these should not be reheated; simply add them fresh before serving.
Pro tip: To make meal prep easier, consider doubling this recipe on a Sunday and portioning it into individual containers for the week ahead. Family members can self-assemble their bowls by adding layers of cake, pudding, and toppings to suit their taste. Swap out regular chocolate pudding mix for vanilla or caramel varieties to change things up throughout the week or try using almond milk instead of regular milk for a lighter option. To keep your whipped cream at its best during meal prep storage, only add it right before serving to maintain its volume and texture.
Conclusion
The Wild Forest Classic Dirt Pudding Cake has become one of those recipes I make at least twice a month because it’s rich, decadent, and delivers an impressive 450 calories per serving without sacrificing flavor. The unique layering of creamy chocolate pudding atop a moist cocoa cake truly sets this dessert apart from typical chocolate cakes, making each bite a delightful experience. Give this one a try this week. I promise it’ll become a regular rotation treat in your house too.
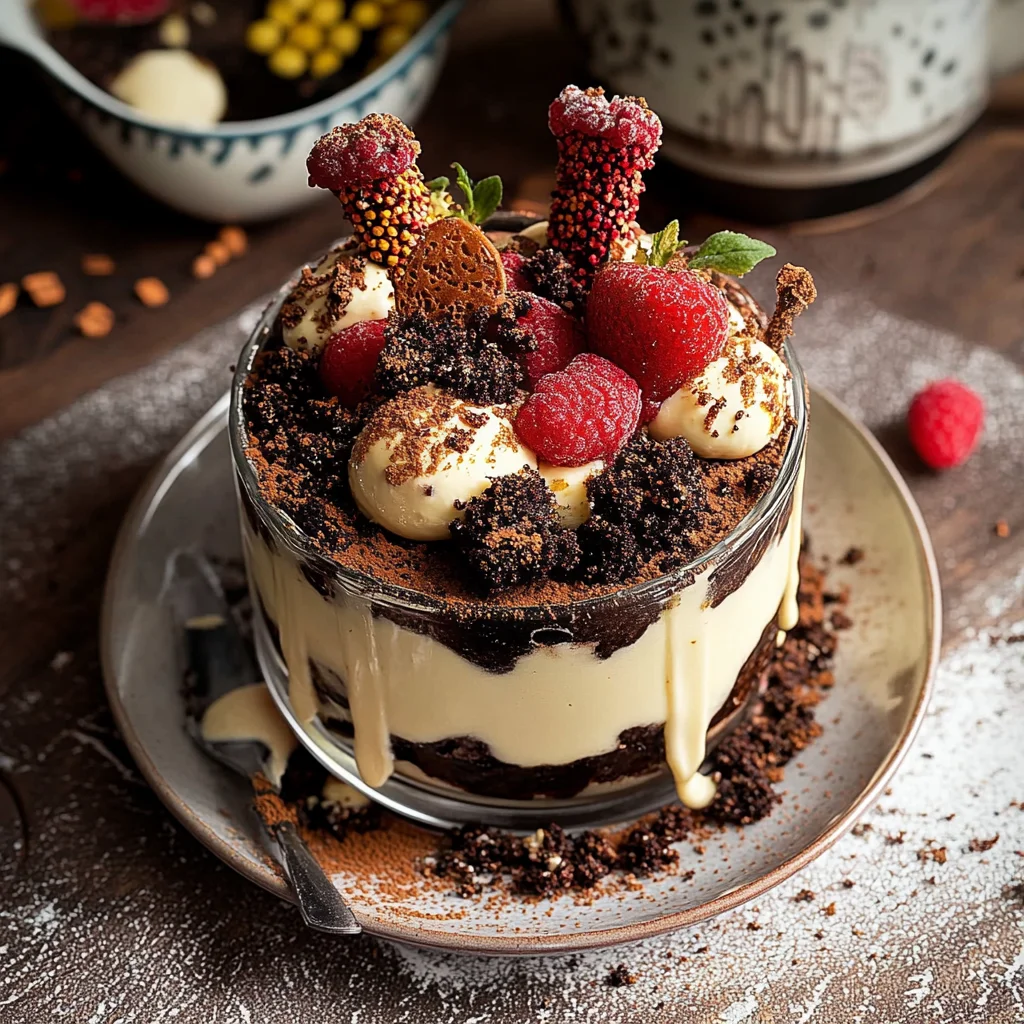
Wild Forest Classic Dirt Pudding Cake
Ingredients
Method
- Preheat the oven to 350°F (175°C). Grease and flour a 9-inch round cake pan.
- In a mixing bowl, combine flour, sugar, cocoa powder, baking powder, baking soda, and salt.
- Add egg, milk, vegetable oil, and vanilla extract to the dry ingredients. Mix until smooth.
- Pour the batter into the prepared cake pan and bake for 30 minutes or until a toothpick comes out clean.
- Let the cake cool completely in the pan before removing.
- In a separate bowl, whisk together the chocolate pudding mix and milk until thickened.
- Refrigerate the pudding for about 10 minutes to set.
- Once the cake is cool, slice it in half horizontally to create two layers.
- Spread half of the pudding mixture over the bottom layer of the cake.
- Place the top layer of the cake on the pudding, then spread the remaining pudding on top.
- Sprinkle crushed cookies over the pudding layer and top with whipped cream.
- Chill in the refrigerator for at least 30 minutes before serving.