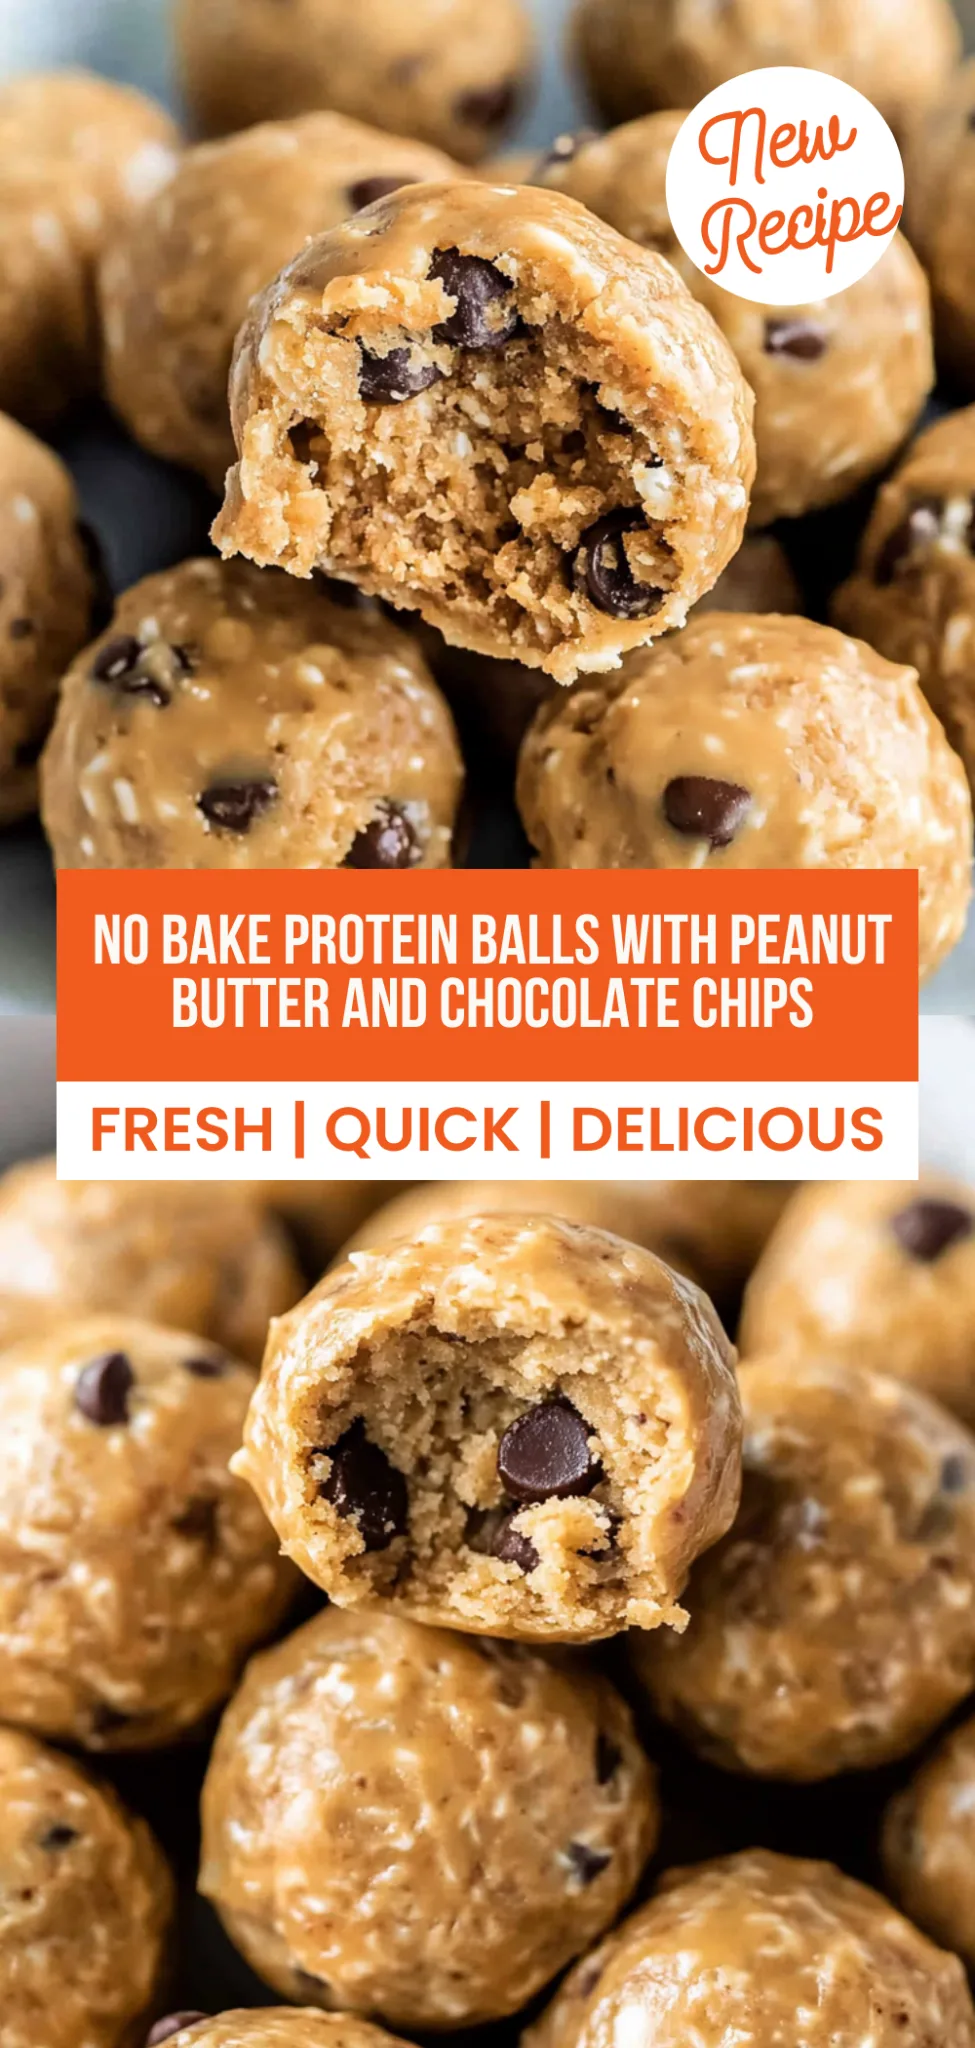
No Bake Protein Balls: Nutty and Delicious Energy Boosts
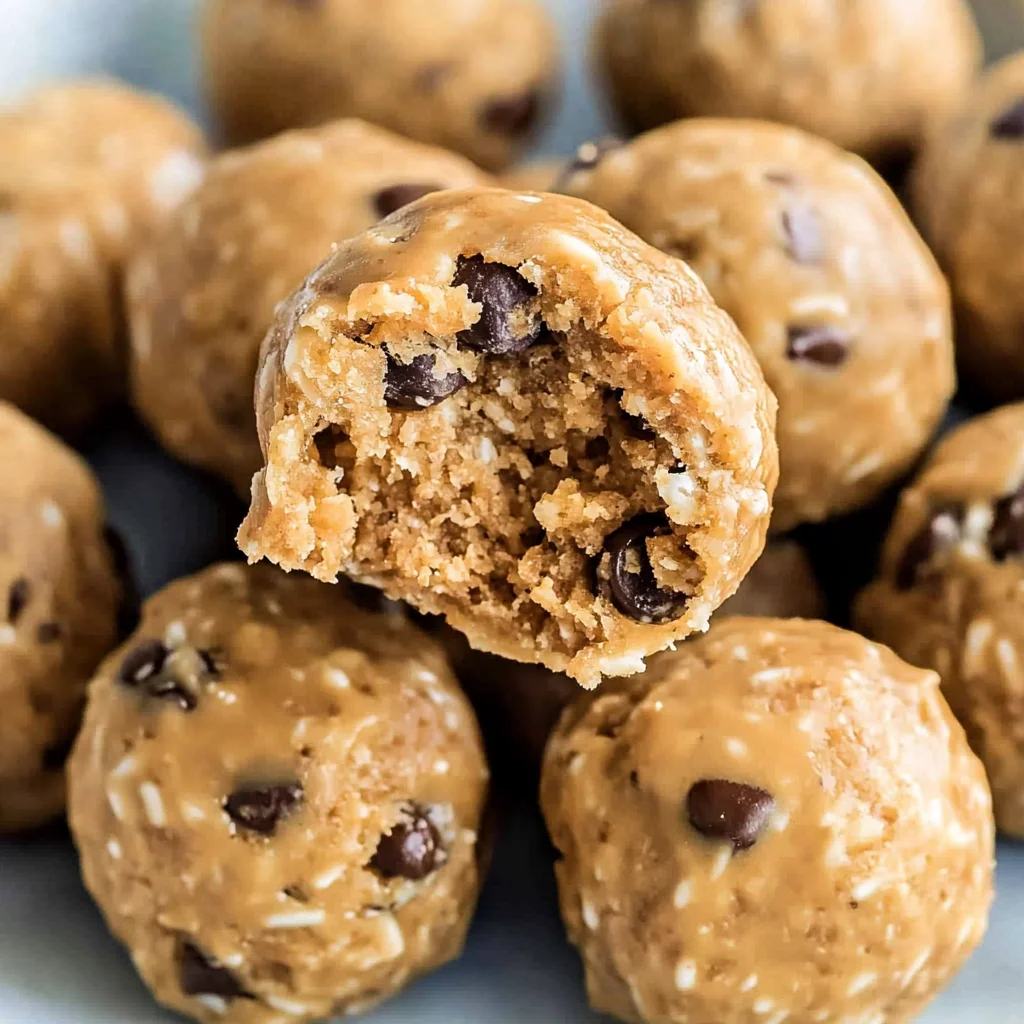
There’s nothing quite like the satisfying crunch and sweet chew of homemade No Bake Protein Balls, a treat that bursts with flavor while packing a protein punch. Imagine these delightful bites being crispy, nutty, rich, and loaded with protein—each ball delivering around 150 calories to fuel your day! I created this recipe during one of those chaotic weeks when meal prep was my saving grace, and I needed something quick yet nutritious to keep my energy up after workouts. These no bake gems have become a staple in my kitchen for their convenience and wholesome goodness.
I still remember the first time I made these for my family on a sunny Saturday afternoon. My teenage son walked in from soccer practice, his eyes lighting up as he caught a whiff of the vanilla and peanut butter mingling in the air. “Are those protein balls?” he exclaimed, practically sprinting to the kitchen. The secret twist that sets my No Bake Protein Balls apart is the addition of ground flaxseeds, which not only add nutrition but also a delightful texture. After devouring the first batch, he asked if we could make them again next week—definitely a win in my book!
Gather These Ingredients
Each ingredient in this dish plays an essential role in flavor and texture. Here’s what you’ll need:
1 cup rolled oats (old-fashioned): Provides a hearty base with a chewy texture.
1/2 cup peanut butter (or almond butter): Adds creaminess and rich, nutty flavor.
1/2 cup honey (or maple syrup): Acts as a natural sweetener while binding the ingredients together.
1/2 cup protein powder (vanilla or chocolate flavor): Boosts protein content for energy and nourishment.
1/4 cup chocolate chips (optional): Introduces a delightful touch of sweetness and indulgence.
1/4 cup chopped nuts (optional): Adds crunch and enhances the overall texture.
- 1/4 cup dried fruit (optional): Brings natural sweetness and chewy contrast to each bite.
Step-by-Step Instructions
I recommend starting with mixing the base ingredients first, as they come together quickly and set the foundation for these tasty protein balls.
Step 1: In a mixing bowl, combine 1 cup of rolled oats, 1/2 cup of peanut butter (or almond butter), 1/2 cup of honey (or maple syrup), and 1/2 cup of protein powder. Use a sturdy spatula or spoon to mix everything thoroughly until you achieve a cohesive mixture that holds together well. This is the base of your protein balls, so make sure no dry pockets remain — it should feel slightly sticky yet firm enough to form into balls later.
Step 2: Next, fold in any add-ins you’d like to include, such as 1/4 cup of chocolate chips, chopped nuts, or dried fruit if you’re using them. Gently mix these extras into the batter until evenly distributed. I usually opt for chocolate chips to satisfy my sweet tooth while still getting that protein boost. Just be careful not to overmix; you want those delicious bits to stay intact!
Step 3: Using your hands, form the mixture into small balls about 1 inch in diameter. I find that wetting my hands slightly helps prevent the mixture from sticking too much to my palms. Once formed, place these balls on a baking sheet lined with parchment paper. Make sure to leave some space between each ball so they don’t stick together while chilling.
Step 4: Finally, refrigerate the protein balls for at least 30 minutes to firm up. This step is crucial because it allows the flavors to meld and makes them easier to handle later on. After chilling, they should be firm enough that they hold their shape well when you grab one for a snack or post-workout boost. Trust me; this waiting period is worth it!
What to Serve with No Bake Protein Balls
This dish is already incredibly filling and balanced, but these sides add extra variety and nutrition to round out your meal perfectly.
Greek Yogurt Parfait: Layering creamy Greek yogurt with fresh berries and a sprinkle of granola creates a delightful contrast in texture and temperature. The tangy yogurt pairs beautifully with the sweet protein balls, while the berries provide antioxidants and additional vitamins. My kids love this parfait for breakfast or as an after-school snack, making it a go-to for our family meal prep.
Quinoa Salad: A vibrant quinoa salad tossed with cucumbers, cherry tomatoes, and a light lemon vinaigrette offers a refreshing crunch that complements the chewy consistency of the protein balls. Quinoa is a complete protein with about 8 grams per cup, making it a perfect side for those looking to boost their protein intake post-workout. I often prepare this salad in advance so we can grab it on busy days.
Guacamole: Creamy guacamole made from ripe avocados, lime juice, and diced tomatoes adds healthy fats that balance the sweetness of the protein balls. The rich flavor of avocados provides a satisfying mouthfeel, while their heart-healthy fats support muscle recovery after workouts. It’s a family favorite at our gatherings, ensuring everyone gets their healthy fats while enjoying delicious snacks.
Sweet Potato Wedges: Oven-roasted sweet potato wedges seasoned with paprika and garlic salt bring a savory element that contrasts nicely with the sweet flavors of the protein balls. These wedges are packed with fiber and beta-carotene, offering around 4 grams of protein per serving. We often make these for movie nights at home; they’re both nutritious and satisfying alongside our snack treats.
Apple Slices with Almond Butter: Crisp apple slices served with almond butter create a simple yet effective side that echoes the nutty flavors in the protein balls. This combination not only provides an additional source of healthy fats but also delivers fiber and essential vitamins from the apples. It’s a staple in our household for quick snacks before heading out for sports practice!
Storage & Serving Tips
To store your no bake protein balls, place them in an airtight container and refrigerate for up to one week. If you’ve added chocolate chips, chopped nuts, or dried fruit, consider storing these add-ins separately in small containers to preserve their texture and freshness. Keeping the base ingredients—rolled oats, peanut butter, honey, and protein powder—intact ensures that your protein balls remain chewy and delicious.
When it comes to reheating, these no bake protein balls are best enjoyed cold or at room temperature; microwaving is not recommended as it can make them soft and unappetizing. If you prefer a softer texture, you can warm them briefly in the microwave for about 10 seconds, but be cautious to avoid overheating. The oats and nut butter mix will hold their integrity without any need for reheating, making them perfect for a quick snack anytime.
Pro tip: To batch cook these protein balls for the week, double the recipe on Sundays and portion them into individual containers for easy grab-and-go snacks. Encourage family members to personalize their own protein ball creations by swapping out peanut butter for almond butter or using maple syrup instead of honey for a different flavor profile. For added variety throughout the week, consider mixing in different add-ins like sunflower seeds or coconut flakes instead of chocolate chips or dried fruit. To keep the texture of the protein balls at their best during meal prep storage, ensure they’re well sealed to prevent drying out.
Conclusion
These No Bake Protein Balls have become a regular rotation recipe for me, as I make them almost every week because they’re not only delicious but also provide 150 calories packed with nutrients that keep me energized throughout the day. The creamy peanut butter is what truly sets these protein balls apart from other snacks, giving them a rich flavor and satisfying texture that you won’t find in typical store-bought options. Give this one a try this week. I promise it’ll become a regular in your rotation too.
No Bake Protein Balls
Ingredients
Method
- In a mixing bowl, combine rolled oats, peanut butter, honey, and protein powder.
- Stir until well combined.
- Fold in chocolate chips, chopped nuts, and dried fruit if using.
- Using your hands, form the mixture into small balls, about 1 inch in diameter.
- Place the balls on a baking sheet lined with parchment paper.
- Refrigerate the protein balls for at least 30 minutes to firm up.