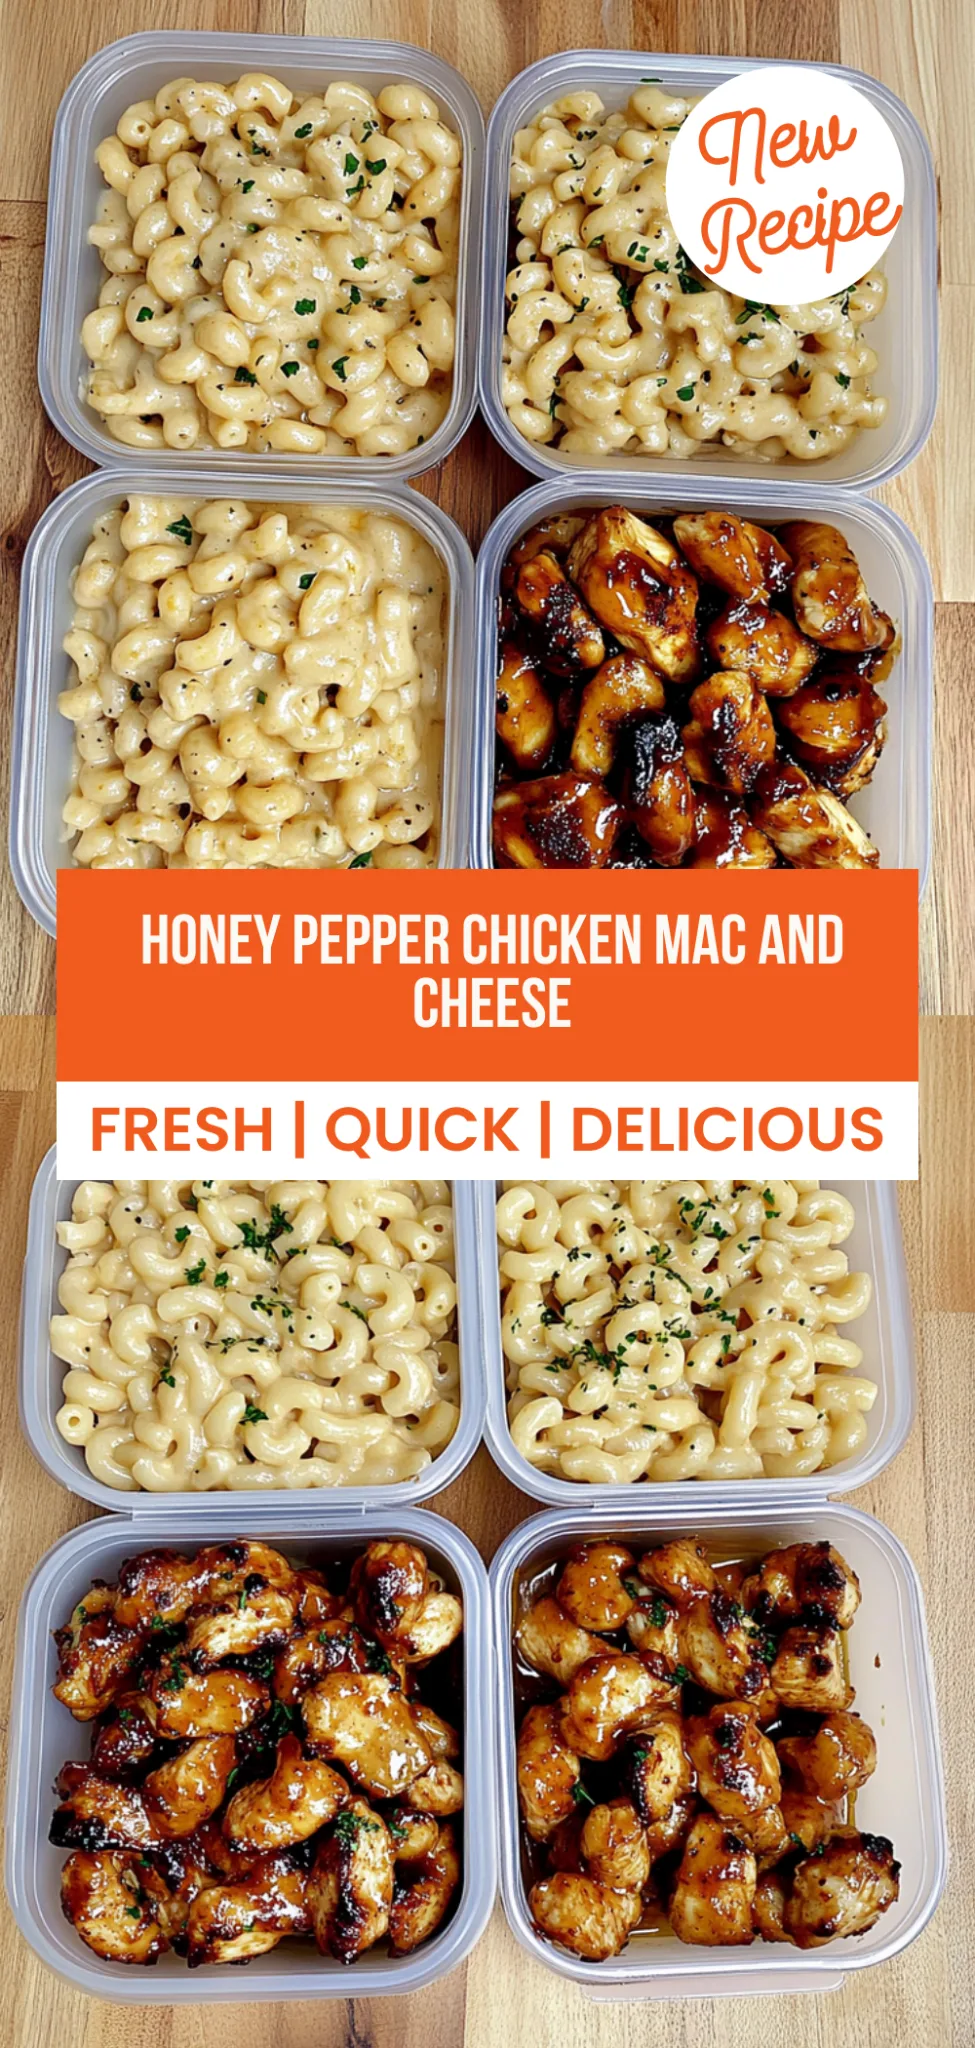
Honey Pepper Chicken Mac and Cheese: Comfort Redefined
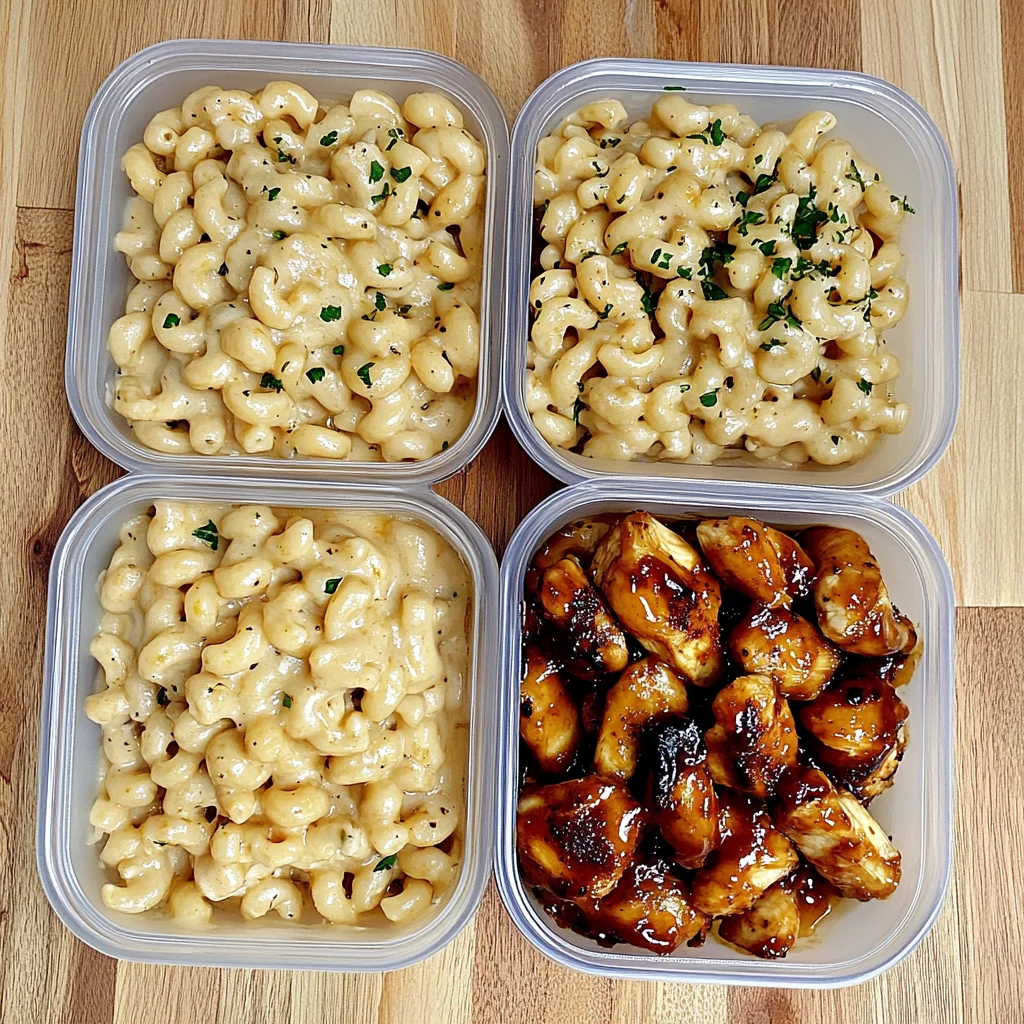
There’s nothing quite like the irresistible combination of creamy, cheesy goodness and sweet, savory chicken to make your taste buds dance! My Honey Pepper Chicken Mac and Cheese is a game-changer, delivering a mouthwatering blend of flavors that’s crispy, savory, fresh, and loaded with protein. I whipped this up one hectic week when my family craved comfort food but also needed a healthy boost—this dish packs in 35 grams of protein per serving, making it a satisfying option for busy evenings or meal prepping for the week ahead.
I still remember the first time I made this dish; it was a chilly Sunday afternoon, and my teenagers wandered into the kitchen drawn by the delicious aroma wafting through the air. “Wow, Mom, what’s cooking?” my son exclaimed as he peeked over my shoulder. The star of this dish is definitely the honey-glazed chicken that adds a delightful twist to traditional mac and cheese. As we sat down to eat, I couldn’t help but smile when my daughter asked for seconds, saying it was the best mac and cheese she had ever tasted!
Ingredients for the Honey Pepper Chicken Mac and Cheese
Each ingredient in this dish plays an essential role in flavor and texture. Here’s what you’ll need:
- 8 oz elbow macaroni (or any pasta of choice): Provides a comforting base that holds the creamy sauce beautifully.
- 1 lb boneless chicken breast (cut into bite-sized pieces): Offers lean protein and a satisfying bite.
- 2 tbsp honey (for glazing): Adds a touch of sweetness that complements the savory elements.
- 1 tbsp black pepper (freshly ground): Delivers a warm kick that enhances the overall flavor.
- 2 tbsp butter (unsalted): Creates a rich foundation for the cheese sauce.
- 2 tbsp all-purpose flour: Acts as a thickening agent for the creamy sauce.
- 2 cups milk (whole or 2%): Provides creaminess and balances the flavors.
- 2 cups cheddar cheese (shredded): Contributes a sharp, melty richness that defines mac and cheese.
- 1 cup cream cheese (softened): Adds smoothness and depth to the cheese sauce.
- 1 tsp garlic powder: Infuses a subtle aroma and savory depth into the dish.
- 1 tsp onion powder: Enhances flavor with its sweet, aromatic notes.
- 1 tsp salt: Balances and elevates all the other flavors present in the dish.
- 1 cup bread crumbs (for crunch): Introduces a delightful textural contrast on top of the creamy mac and cheese.
- 2 tbsp parsley (chopped, for garnish): Brings freshness and a pop of color to finish off the dish.
Step-by-Step Instructions
I recommend starting with the pasta since it takes some time to cook, allowing you to multitask while preparing the other components of the dish.
Step 1: Bring a large pot of salted water to a boil. Once boiling, add 8 oz of elbow macaroni and cook according to package instructions until al dente, which typically takes about 7-9 minutes. This ensures the pasta is perfectly firm and holds its shape when mixed with the creamy cheese sauce later. After cooking, drain the pasta and set it aside while you work on the chicken.
Step 2: In a skillet, heat a tablespoon of oil over medium heat. Once hot, add 1 lb of boneless chicken breast cut into bite-sized pieces and season generously with salt and freshly ground black pepper. Cook for about 7-10 minutes, stirring occasionally, until the chicken is nicely browned and cooked through with no pink remaining in the center. This step builds serious flavor, so don’t rush it! Once done, drizzle 2 tbsp of honey over the cooked chicken and toss to coat thoroughly before removing it from heat and setting aside.
Step 3: In the same skillet used for the chicken (this is where all that flavor resides!), melt 2 tbsp of unsalted butter over medium heat. Stir in 2 tbsp of all-purpose flour and cook for about 1 minute to create a roux. Gradually whisk in 2 cups of milk while stirring constantly; this will help avoid lumps as the mixture thickens over approximately 5 minutes. When it reaches a smooth, creamy consistency, add in 2 cups of shredded cheddar cheese and 1 cup of softened cream cheese, stirring until fully melted and combined. Finally, mix in 1 tsp each of garlic powder and onion powder for added depth—trust me, this makes a difference!
Step 4: Now it’s time to bring everything together! Add your cooked pasta and honey-glazed chicken into the cheese sauce. Stir gently but thoroughly until every piece is well coated with that luscious sauce. This step is key; you want to ensure every bite has that delightful combination of flavors. Then transfer this mixture into a baking dish—approximately an 8×8 inch should do—and top it with 1 cup of bread crumbs for that perfect crunch.
Step 5: Preheat your oven to 350°F (175°C). While it’s heating up, make sure your mac and cheese is evenly spread in the baking dish; this helps with even cooking. Bake for about 15-20 minutes or until the top is golden brown and bubbly. I usually check around the 15-minute mark because every oven can be different—you’re looking for that perfect crispy topping!
Step 6: Once baked to golden perfection, remove from the oven and garnish with freshly chopped parsley before serving. The vibrant green adds not just color but also a fresh flavor contrast to your creamy mac and cheese! Enjoy your Honey Pepper Chicken Mac and Cheese hot—it’s comfort food at its best!
What to Serve with Honey Pepper Chicken Mac and Cheese
This bowl is already incredibly filling and balanced, but these sides add extra variety and nutrition to round out your meal perfectly.
Garlic Roasted Broccoli: Tender broccoli florets roasted with olive oil, garlic, and a sprinkle of Parmesan cheese create a deliciously nutty side that contrasts beautifully with the creamy mac and cheese. The slight bitterness of the roasted broccoli enhances the dish’s sweetness from the honey-glazed chicken while adding important vitamins C and K. My kids love the crispy edges, making it a go-to side on our family dinner nights.
Honey Lime Quinoa Salad: This refreshing salad combines fluffy quinoa tossed with diced bell peppers, red onion, cilantro, lime juice, and a drizzle of honey for sweetness. The lightness of the salad offsets the rich mac and cheese while echoing its honey flavor and providing an additional 8 grams of protein per serving. It’s perfect for meal prep as we can enjoy it throughout the week alongside various dishes.
Creamy Avocado Dip: A smooth blend of ripe avocados, Greek yogurt, lime juice, and a pinch of salt creates a delectable dip that pairs well with crunchy vegetables or whole-grain chips. The creaminess complements the mac and cheese while offering healthy fats that keep everyone satisfied. This dip has become a staple at our gatherings; it’s an easy way to get my family to enjoy their veggies!
Spicy Sriracha Garlic Green Beans: Crisp-tender green beans sautéed with garlic and a touch of sriracha deliver just the right amount of heat to balance the sweetness in the dish. This spicy side adds crunch and an exciting flavor contrast while providing vitamins A, C, and K along with fiber. My husband loves this combination as it keeps things lively at our dinner table!
Storage & Serving Tips
To store your Honey Pepper Chicken Mac and Cheese for meal prep, first, allow it to cool to room temperature. Transfer the pasta and cheese mixture into an airtight container and keep it in the fridge for up to 4 days. For optimal freshness, store the glazed chicken in a separate container; this helps maintain its texture. Keep the bread crumbs in a small container at room temperature so they stay crunchy, and store the chopped parsley separately in a tiny container to preserve its freshness.
When it’s time to reheat, start with the mac and cheese by placing it in a 350°F oven for about 15-20 minutes or until heated through. This method helps retain the creamy consistency without drying it out. Reheat the chicken separately in the microwave for about 1-2 minutes, stirring halfway through until steaming hot. Avoid microwaving the bread crumbs as they will lose their crunch; instead, give them a quick toast in a pan over medium heat for about 3-4 minutes before serving.
Pro tip: For efficient meal prep, consider batch cooking this recipe on Sundays by doubling the ingredients and dividing everything into individual containers for easy grab-and-go meals throughout the week. Family members can assemble their own bowls by combining portions of pasta, chicken, and cheese sauce according to their preferences. To keep things exciting, swap out elbow macaroni for whole wheat pasta or use grilled shrimp instead of chicken for variety. Additionally, store the bread crumbs separately until you’re ready to eat to ensure they remain crispy!
Conclusion
Honey Pepper Chicken Mac and Cheese has quickly become one of those recipes I make at least twice a month because it’s genuinely easy, incredibly satisfying, and delivers 650 calories per serving without sacrificing flavor. The honey-glazed chicken adds a unique sweetness that perfectly complements the creamy cheese sauce, making it stand out from your typical mac and cheese dishes. Give this one a try this week. I promise it’ll become a regular rotation meal in your house too.
Honey Pepper Chicken Mac and Cheese
Ingredients
Method
- Bring a large pot of salted water to a boil. Add the elbow macaroni and cook according to package instructions until al dente. Drain and set aside.
- In a skillet, heat a tablespoon of oil over medium heat. Add the chicken pieces and season with salt and pepper. Cook until browned and cooked through, about 7-10 minutes.
- Drizzle honey over the cooked chicken and toss to coat. Remove from heat and set aside.
- In the same skillet, melt butter over medium heat. Stir in flour and cook for 1 minute.
- Gradually whisk in milk, stirring constantly until the mixture thickens, about 5 minutes.
- Add cheddar cheese and cream cheese, stirring until melted and smooth. Mix in garlic powder and onion powder.
- Add the cooked pasta and honey pepper chicken to the cheese sauce. Stir until well combined.
- Transfer to a baking dish and top with bread crumbs.
- Preheat the oven to 350°F (175°C). Bake for 15-20 minutes until the top is golden brown.
- Garnish with chopped parsley before serving.