Garlic Herb Braided Bread: 7 Flavorful Reasons to Bake Today
There’s nothing quite like the aroma of freshly baked Garlic Herb Braided Bread wafting through the house, instantly elevating any meal to gourmet status. Imagine sinking your teeth into a loaf that’s crispy on the outside, soft and fluffy on the inside, savory with each herb-infused bite, and bursting with garlicky goodness—all while packing a hearty 220 calories per slice. I created this recipe during one of those busy weeks when my family needed a quick yet impressive dish for dinner; it quickly became our go-to bread for special occasions and weeknight comfort.
I still remember the first time I made this stunning loaf—it was a chilly Sunday afternoon, and my teenagers were home from school, trying to escape their homework. As the bread baked, I could hear their laughter in the kitchen, but when they caught a whiff of that garlic and herb blend, they came running. “Mom, what’s that amazing smell?” my youngest exclaimed as he peeked into the oven. The twist? The unique braided shape not only looks beautiful on the table but also allows for even more flavor absorption. That day ended with everyone asking for seconds, and my husband declared it “the best bread ever.” Trust me—Garlic Herb Braided Bread: 7 Flavorful Reasons to Bake This Stunning Loaf Today will become a cherished staple in your home too!
Ingredients for the Garlic Herb Braided Bread
Each ingredient in this dish plays an essential role in flavor and texture. Here’s what you’ll need:
Dough
3 cups all-purpose flour: Provides the structure and base for the bread.
1 cup warm water (about 110°F): Activates the yeast for proper rising.
2 tablespoons sugar: Enhances browning and adds a hint of sweetness.
1 packet active dry yeast: Leavens the dough, creating a light and airy texture.
1 teaspoon salt: Balances flavors and strengthens gluten structure.
2 tablespoons olive oil: Adds moisture and a subtle richness to the dough.
Garlic Herb Mixture
4 cloves garlic (minced): Infuses the bread with robust garlic flavor.
2 tablespoons fresh parsley (chopped): Brightens the bread with a fresh, herbal note.
1 tablespoon fresh rosemary (chopped): Contributes an aromatic, earthy flavor.
1 tablespoon fresh thyme (chopped): Adds depth with its savory profile.
1 teaspoon salt: Enhances the overall taste of the garlic herb mixture.
1 teaspoon black pepper: Introduces a gentle heat and complexity.
Topping
1 egg beaten (for egg wash): Gives the crust a beautiful golden sheen.
1 tablespoon sea salt (for sprinkling): Provides a delightful crunch and burst of flavor on top.
- 1 tablespoon olive oil (for brushing): Keeps the crust moist while adding extra flavor.
Step-by-Step Instructions
To get the dough rising while you prepare the garlic herb mixture, start by combining warm water, sugar, and yeast in a mixing bowl.
Step 1: In a mixing bowl, combine 1 cup of warm water (about 110°F), 2 tablespoons of sugar, and 1 packet of active dry yeast. Let the mixture sit for about 5 minutes until it becomes frothy — this indicates that the yeast is active and ready to work its magic in your dough. It’s crucial not to skip this step as it ensures a light and airy bread.
Step 2: Once your yeast mixture is ready, add in 3 cups of all-purpose flour, 1 teaspoon of salt, and 2 tablespoons of olive oil. Mix everything together until a dough forms; I usually find that a wooden spoon works best for this part. When it starts coming together, you can switch to using your hands to bring it all into one cohesive ball.
Step 3: Transfer the dough onto a floured surface and knead it for about 10 minutes until it is smooth and elastic. Kneading builds structure in the dough, which is key for that perfect chewy texture. If at any point your dough feels too sticky, sprinkle a little more flour as needed.
Step 4: After kneading, place the dough in a greased bowl and cover it with a clean kitchen towel or plastic wrap. Let it rise in a warm place for about 1 hour or until it has doubled in size. This step is essential as it develops flavor and creates air pockets that will make your bread light and fluffy.
Step 5: While the dough is rising, prepare your garlic herb mixture by mixing together 4 minced cloves of garlic, 2 tablespoons of chopped fresh parsley, 1 tablespoon each of chopped fresh rosemary and thyme, along with 1 teaspoon each of salt and black pepper in a small bowl. This aromatic blend adds incredible flavor to your braided bread — don’t rush this step; let those herbs mingle!
Step 6: Preheat your oven to 375°F (190°C) so it’s hot and ready when your bread is shaped. With the oven heating up, once the dough has risen sufficiently, punch it down gently to release some air before dividing it into three equal pieces.
Step 7: Roll each piece of dough into long ropes about 12 inches long; I usually like to stretch them gently rather than pulling too hard to maintain their elasticity. This technique helps ensure even baking throughout.
Step 8: Spread the prepared garlic herb mixture evenly over each rope. Don’t be shy here; really pack on that flavor! The more herby goodness you can get on there, the better your bread will taste.
Step 9: Now it’s time to braid! Braid the three ropes together carefully while tucking the ends under so they’re secure. This adds an impressive look to your loaf while also helping with even cooking — just make sure not to pull too tightly on the braid.
Step 10: Place the braided bread on a parchment-lined baking sheet for easy cleanup later on. Brush the top generously with beaten egg for that beautiful golden finish, then sprinkle sea salt over it for an extra burst of flavor.
Step 11: Bake in your preheated oven for about 25 minutes or until it’s beautifully golden brown on top; you’ll know it’s done when you see that lovely color forming and can smell its delicious aroma wafting through your kitchen.
Step 12: Once baked, let your bread cool on a wire rack before slicing into it. This cooling period helps set the crumb structure inside — trust me, you’ll want to wait just a bit longer for that perfect slice!
What to Serve with Garlic Herb Braided Bread
This dish is already incredibly filling and balanced, but these sides add extra variety and nutrition to round out your meal perfectly.
Mediterranean Chickpea Salad: This vibrant salad combines canned chickpeas, diced cucumbers, cherry tomatoes, red onion, and a lemon-herb vinaigrette. The freshness of the vegetables contrasts beautifully with the warm garlic herb tones of the bread, while the chickpeas add a healthy dose of protein—about 15 grams per serving. It’s a staple in my household for potlucks because everyone loves its crunchy texture and zingy flavor.
Garlic Parmesan Roasted Potatoes: Crispy roasted potatoes tossed in olive oil, garlic, and grated Parmesan create a delightful side that mirrors the garlic notes in the bread while introducing a satisfying crunch. With about 4 grams of protein per serving and plenty of healthy carbs, they make for an energizing meal option that my kids can’t resist.
Avocado Lime Guacamole: Creamy guacamole made with ripe avocados, lime juice, cilantro, and diced tomatoes provides a luscious dip that complements the bread’s herbal flavors. The healthy fats from the avocados not only enhance satiety but also offer heart-healthy benefits; each serving contains around 3 grams of protein as well. We often enjoy this during family gatherings—it’s a crowd-pleaser that pairs well with anything!
Quinoa Tabbouleh: This light and nutritious tabbouleh features cooked quinoa mixed with fresh parsley, mint, diced tomatoes, cucumber, and a lemon dressing. Its bright flavors echo the herbs found in Garlic Herb Braided Bread while providing an extra protein boost—about 8 grams per serving thanks to the quinoa base. We love making this for meal prep; it keeps well in the fridge and adds a refreshing touch to dinner all week long!
Storage & Serving Tips
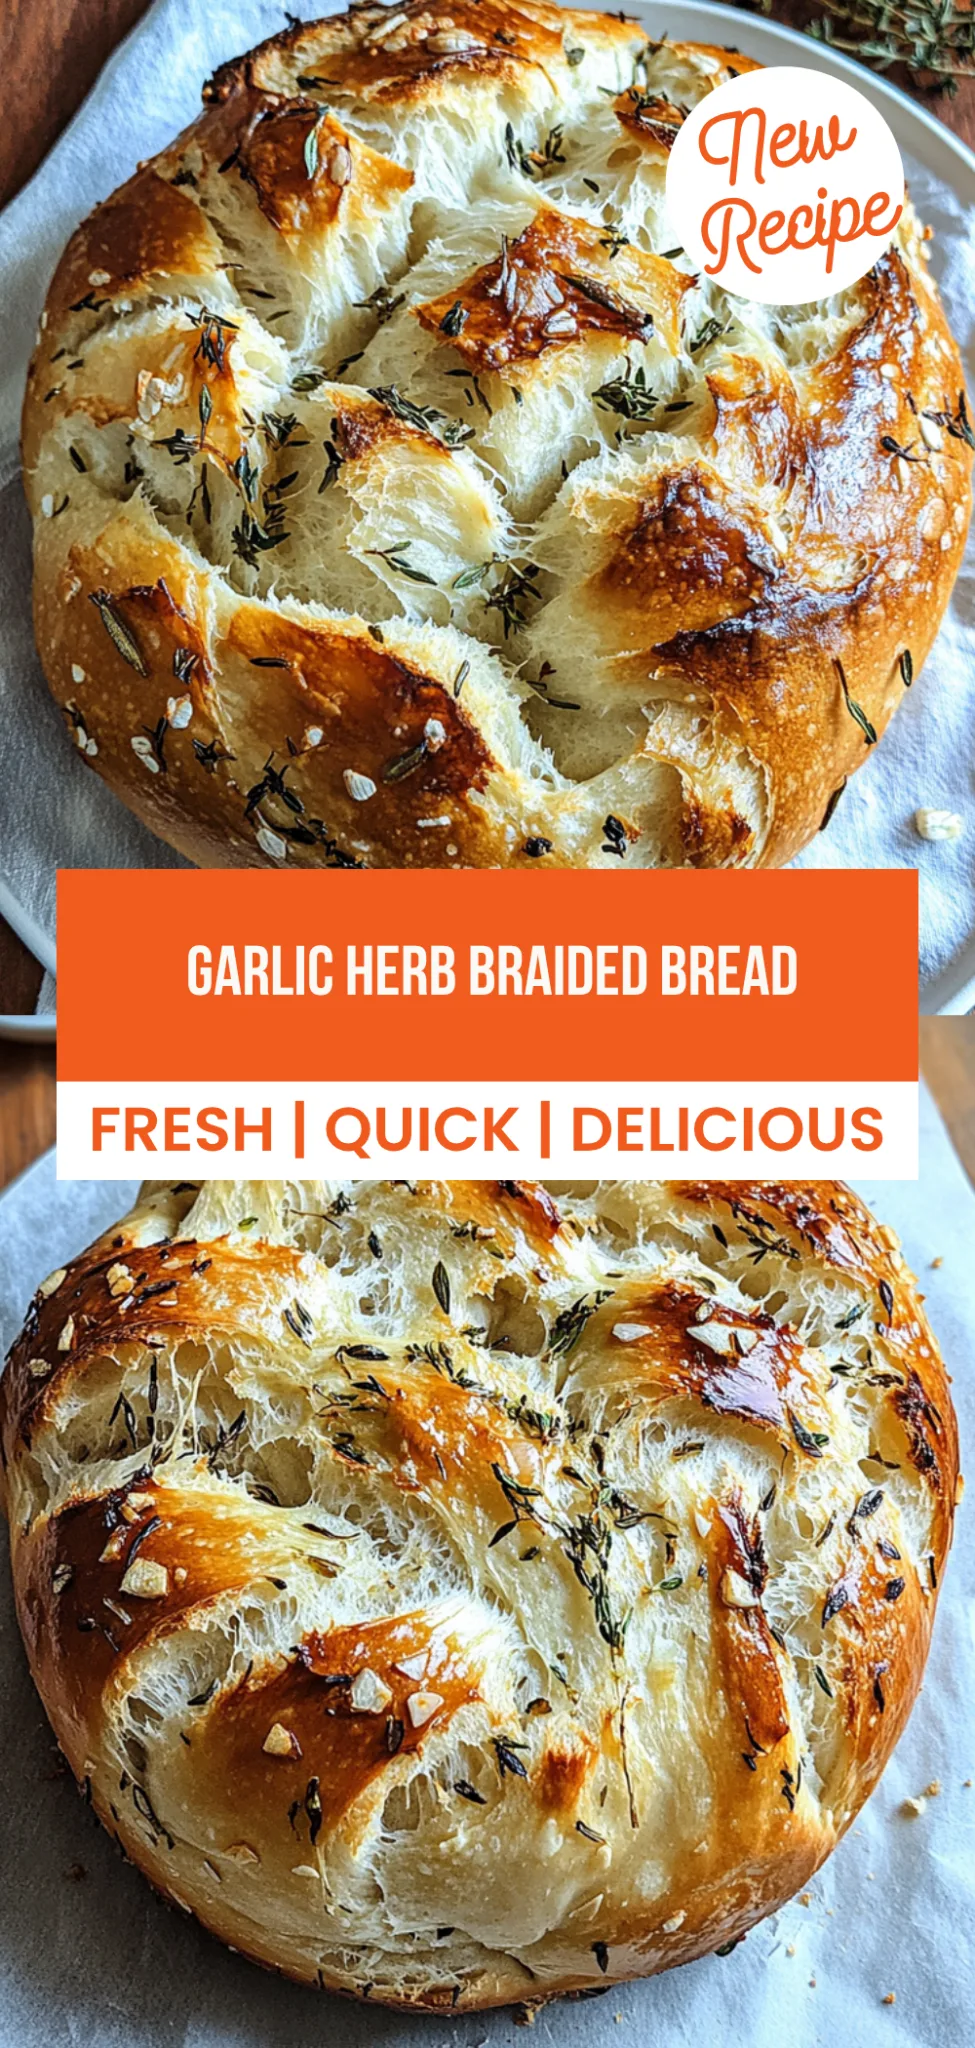
To store your Garlic Herb Braided Bread, place the cooled loaf in an airtight container or wrap it tightly in plastic wrap. This will keep it fresh for up to 3 days at room temperature. If you want to keep it longer, consider freezing it; slice the bread before freezing and store in a freezer-safe bag for up to 3 months. For optimal freshness, separate the — Garlic Herb Mixture — (store in a small container) and any toppings like the beaten egg wash and sea salt (store separately as well), so they can be added fresh when serving.
When reheating, preheat your oven to 350°F and place the sliced bread on a baking sheet. Heat for about 10 minutes until warmed through and slightly crispy. Avoid microwaving, as this method makes the bread soft and unappetizing. If you have leftover — Garlic Herb Mixture —, you can gently warm it in a small saucepan over low heat for about 3–5 minutes until fragrant, enhancing the flavor profile of each slice.
Pro tip: To batch cook this recipe for meal prep, double the ingredients for the — Dough — and divide the final loaf into portions that can be stored in individual containers for easy access throughout the week. Family members can enjoy assembling their own meals by pairing slices of bread with different dips or spreads. Consider swapping out fresh herbs with dried ones or using garlic powder instead of minced garlic for variation, while also experimenting with different toppings like cheese or roasted vegetables to keep things exciting. To maintain that fresh-baked taste during meal prep storage, always store any additional toppings separately from the bread itself until you’re ready to serve them.
Conclusion
This Garlic Herb Braided Bread has become a regular rotation recipe in my home, and I find myself making it almost every week because it’s not only delicious but also delivers 220 calories per serving while feeling indulgent. The combination of freshly minced garlic and aromatic herbs in the dough truly sets this loaf apart from other breads, elevating it to a standout choice for any meal or gathering. I encourage you to give this one a try this week. I promise it’ll become a regular rotation meal in your house too.