Chocolate Peanut Butter Rice Krispie Cups: Irresistibly C…
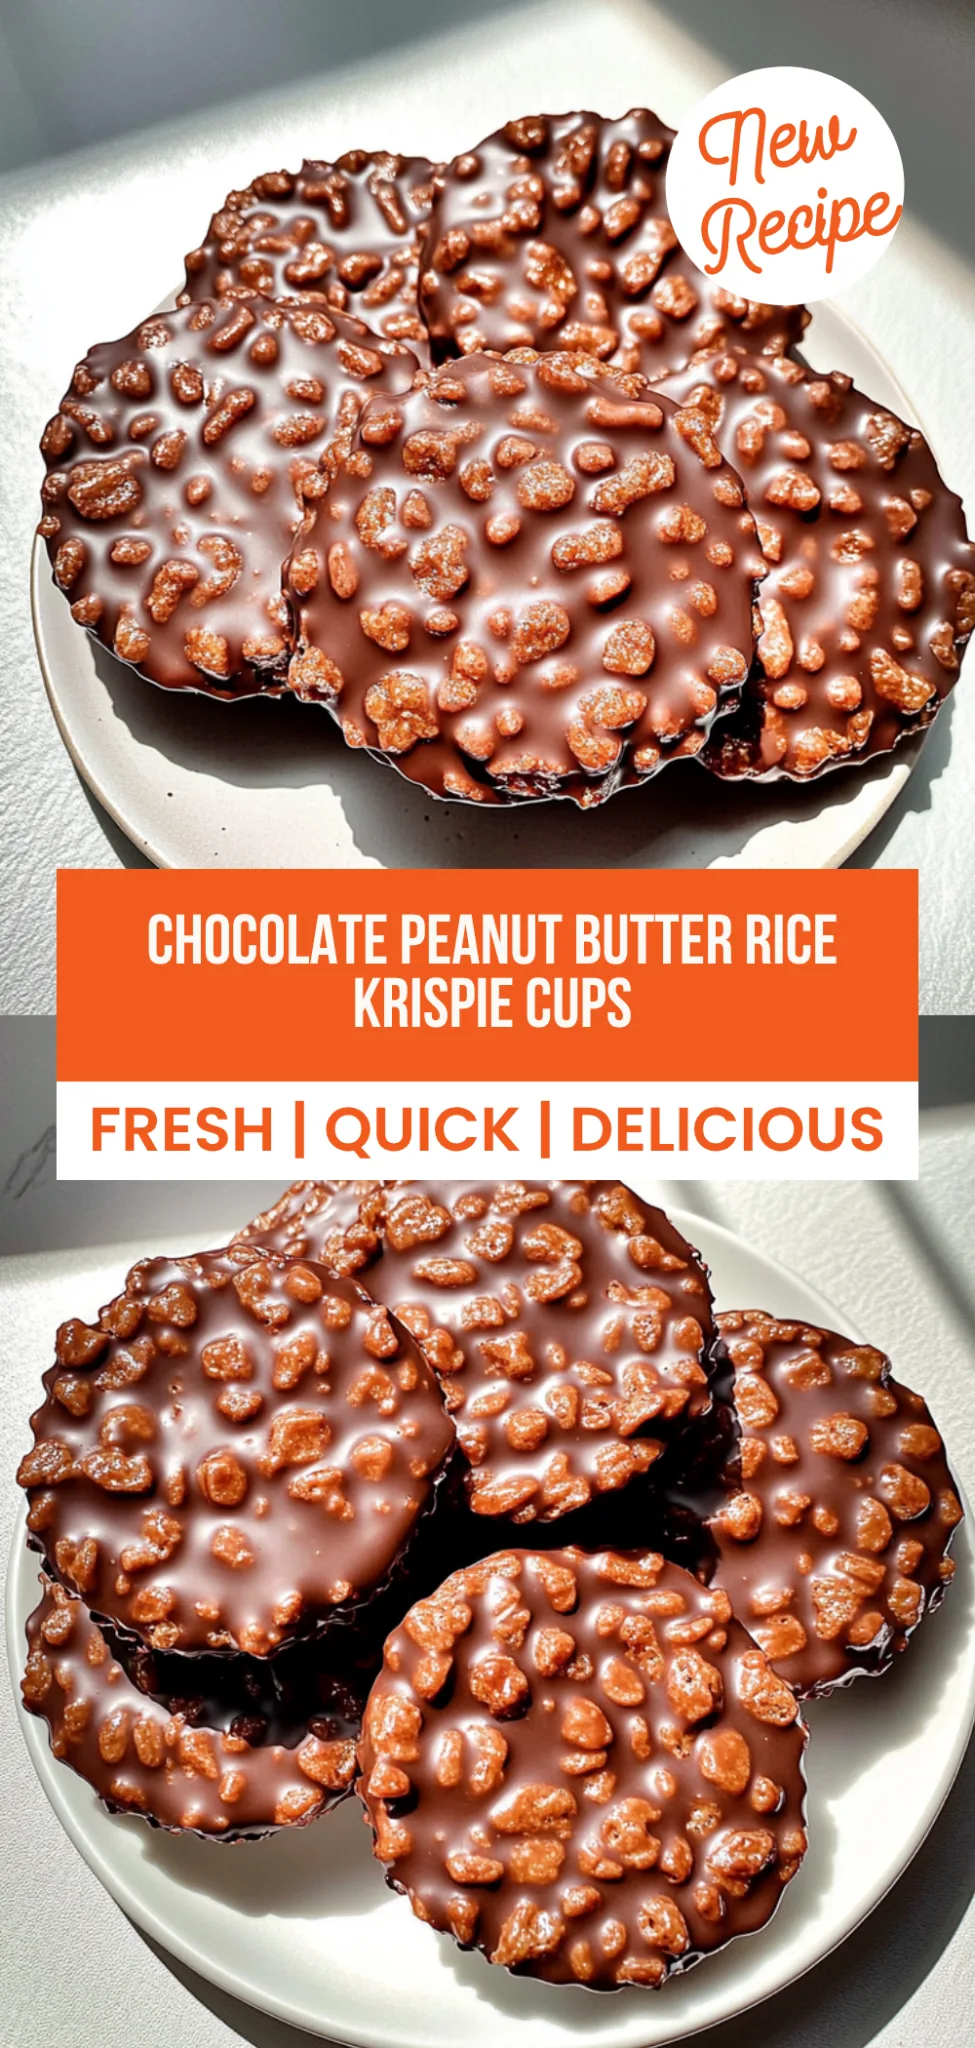
These Chocolate Peanut Butter Rice Krispie Cups are an absolute game-changer in the world of no-bake treats! Imagine biting into a sweet, crunchy, and creamy delight that perfectly balances the rich flavors of chocolate and peanut butter—crispy, indulgent, and packed with 5 grams of protein per serving. I whipped up this recipe on a particularly hectic week when my family needed quick snacks for school and work, and it has since become a staple in our household. With just a few simple ingredients, these cups are not only delicious but also keep everyone fueled throughout the day.
I still remember the first time I made these Chocolate Peanut Butter Rice Krispie Cups; it was a rainy Saturday afternoon when my kids were looking for something sweet. As I drizzled melted chocolate over the top, my youngest exclaimed, “These look like little treasures!” Their faces lit up with anticipation as they took their first bites. The combination of crispy rice cereal with that luscious peanut butter twist makes these cups stand out from ordinary treats. To my delight, my teenagers devoured them so quickly that they actually asked me to make another batch before dinner—now that’s real approval!
Gather These Ingredients
Each ingredient in this dish plays an essential role in flavor and texture. Here’s what you’ll need:
3 cups Rice Krispies: Provides the delightful crunch and texture that makes these treats irresistible.
1 cup Creamy peanut butter: Creates a rich and creamy base that binds everything together beautifully.
1 cup Chocolate chips: Adds a luscious chocolate flavor that complements the peanut butter perfectly.
1/4 cup Chocolate chips: Perfect for drizzling on top to enhance the chocolate experience.
- 2 tablespoons Peanut butter: Drizzled on top for an extra layer of creamy, nutty goodness.
Step-by-Step Instructions
I recommend starting with the melting of the chocolate chips, as this will take a few moments and you can utilize that time to prepare the rest of your ingredients.
Step 1: In a microwave-safe bowl, combine 1 cup of chocolate chips and microwave in 30-second intervals until melted, stirring between each interval. This process usually takes about 1 to 2 minutes total, depending on your microwave’s power. Make sure to keep an eye on it to prevent burning; you’re looking for a smooth and glossy consistency without any lumps.
Step 2: Once melted, add 1 cup of peanut butter to the chocolate and mix until smooth. The warmth from the chocolate will help soften the peanut butter, making it easier to blend into a silky mixture. I prefer using natural peanut butter for its flavor and better texture, which complements the chocolate beautifully.
Step 3: In a large mixing bowl, combine the Rice Krispies with the chocolate-peanut butter mixture and stir until evenly coated. You want every piece of cereal to be enveloped in that rich mixture for maximum flavor in each bite. Use a spatula or large spoon to work through the mixture thoroughly; it can be tempting to rush this step, but taking your time here ensures that your treats are perfectly balanced.
Step 4: Line a muffin tin with cupcake liners to prepare for forming your cups. Make sure you have enough liners ready—this recipe should yield about 12 cups. This step is essential because it makes removing the cups much easier once they’re set, and it helps in maintaining their shape without sticking.
Step 5: Scoop the Rice Krispie mixture into each liner, pressing down firmly to form cups. I like to use a tablespoon measuring spoon for portioning; it gives you uniform sizes and helps create even layers. Press down hard enough so they hold together but be careful not to crush them too much; you want just enough pressure for stability.
Step 6: Refrigerate for about 10 minutes to set. This brief chilling time allows the mixture to firm up nicely, making it easier when you go to add your toppings later. If you’re in a hurry, feel free to pop them into the freezer for about half that time—just keep an eye on them!
Step 7: In a small microwave-safe bowl, melt the remaining 1/4 cup of chocolate chips and 2 tablespoons of peanut butter together. Again, use 30-second intervals and stir until everything is combined into a smooth drizzle mix. This melted topping adds an extra dimension of flavor and visual appeal, so don’t skip it!
Step 8: Drizzle the melted mixture over the set Rice Krispie cups using a spoon or a piping bag for more control. This step not only enhances presentation but adds another layer of deliciousness that balances perfectly with the crispy base. Don’t worry if it’s not perfect; rustic is charming!
Step 9: Return to the refrigerator for an additional 5 minutes to set the drizzle. This quick chill will help solidify your topping so it adheres well when served. You’ll know they’re ready when you see that glossy sheen on top.
Step 10: Remove the cups from the muffin tin and serve chilled. Gently peel away the cupcake liners for easy serving; they should come out cleanly if pressed down well during assembly.
Step 11: Enjoy your delicious Chocolate Peanut Butter Rice Krispie Cups! These treats are perfect for snacking or sharing at gatherings, and trust me—everyone will love them!
What to Serve with Chocolate Peanut Butter Rice Krispie Cups
This bowl is already incredibly filling and balanced, but these sides add extra variety and nutrition to round out your meal perfectly.
Apple Slices with Almond Butter: Crisp apple slices served with a drizzle of almond butter provide a refreshing contrast to the rich chocolate and peanut butter flavors. The sweetness of the apples balances the dessert-like quality of the Rice Krispie cups, while the almond butter adds healthy fats and about 4 grams of protein per serving. My kids love this combo as a snack after school, making it a perfect addition to our family’s afternoon routine.
Quinoa Salad with Black Beans: A zesty quinoa salad mixed with black beans, corn, and lime dressing offers a nutritious boost alongside the sweet treats. This dish provides complex carbohydrates and around 8 grams of protein per serving, which complements the Rice Krispie cups beautifully while maintaining a lighter texture. It’s an excellent meal prep option that my family enjoys for lunch throughout the week.
Guacamole and Veggie Sticks: Creamy guacamole served with crunchy veggie sticks adds both healthy fats and vibrant color to your plate. The rich avocado flavor pairs well with the peanut butter notes in the dessert, creating an interesting contrast while providing essential nutrients like potassium and fiber. Whenever we have friends over for movie night, this dip becomes an instant hit alongside our dessert spread.
Coconut Brown Rice: Fluffy brown rice cooked in coconut milk gives a delightful tropical flair that echoes the nutty flavors of the Rice Krispie cups. With around 5 grams of protein per serving, it keeps everyone satisfied without overshadowing the main treat. I often make this dish as a side during family gatherings since it’s such an easy way to incorporate more whole grains into our meal while everyone indulges in sweets.
Storage & Serving Tips
To store your Chocolate Peanut Butter Rice Krispie Cups for meal prep, place them in an airtight container in the refrigerator. These treats can last up to 5 days when stored properly. If you want to maintain the crispy texture, store the Rice Krispies separately from the chocolate and peanut butter mixture. Keep the Rice Krispies in a small, dry container and the combined chocolate and peanut butter mixture in another airtight container. This way, you can assemble your cups fresh whenever you’re ready to enjoy them.
When it comes to reheating, it’s best not to microwave these treats as it can make them soft and disappointing. Instead, if you prefer a warm treat, preheat your oven to 350°F (175°C) and warm the assembled cups for about 5 minutes until they’re just slightly softened. For the separate components, if you’ve stored chocolate chips or peanut butter separately for drizzling on top, simply let them come to room temperature before using; there’s no need to heat them up.
Pro tip: To batch cook these delicious cups for the week, consider doubling the recipe on Sundays and portioning them into individual containers for easy grab-and-go snacks. Family members can self-assemble their own cups by adding their desired amount of chocolate drizzle and extra peanut butter right before eating. For variety throughout the week, swap semi-sweet chocolate chips for dark chocolate or even white chocolate for a different flavor profile. Additionally, keep the Rice Krispies stored separately to maintain their crunchiness until you’re ready to indulge!
Conclusion
These Chocolate Peanut Butter Rice Krispie Cups have become one of those recipes I make at least twice a month because they’re a delightful no-bake treat that offers 220 calories of pure satisfaction in every bite. The creamy peanut butter is what truly sets this recipe apart, giving it a rich flavor that contrasts beautifully with the crispy Rice Krispies. Give this one a try this week; you won’t regret it! I promise it’ll become a regular rotation treat in your house too.