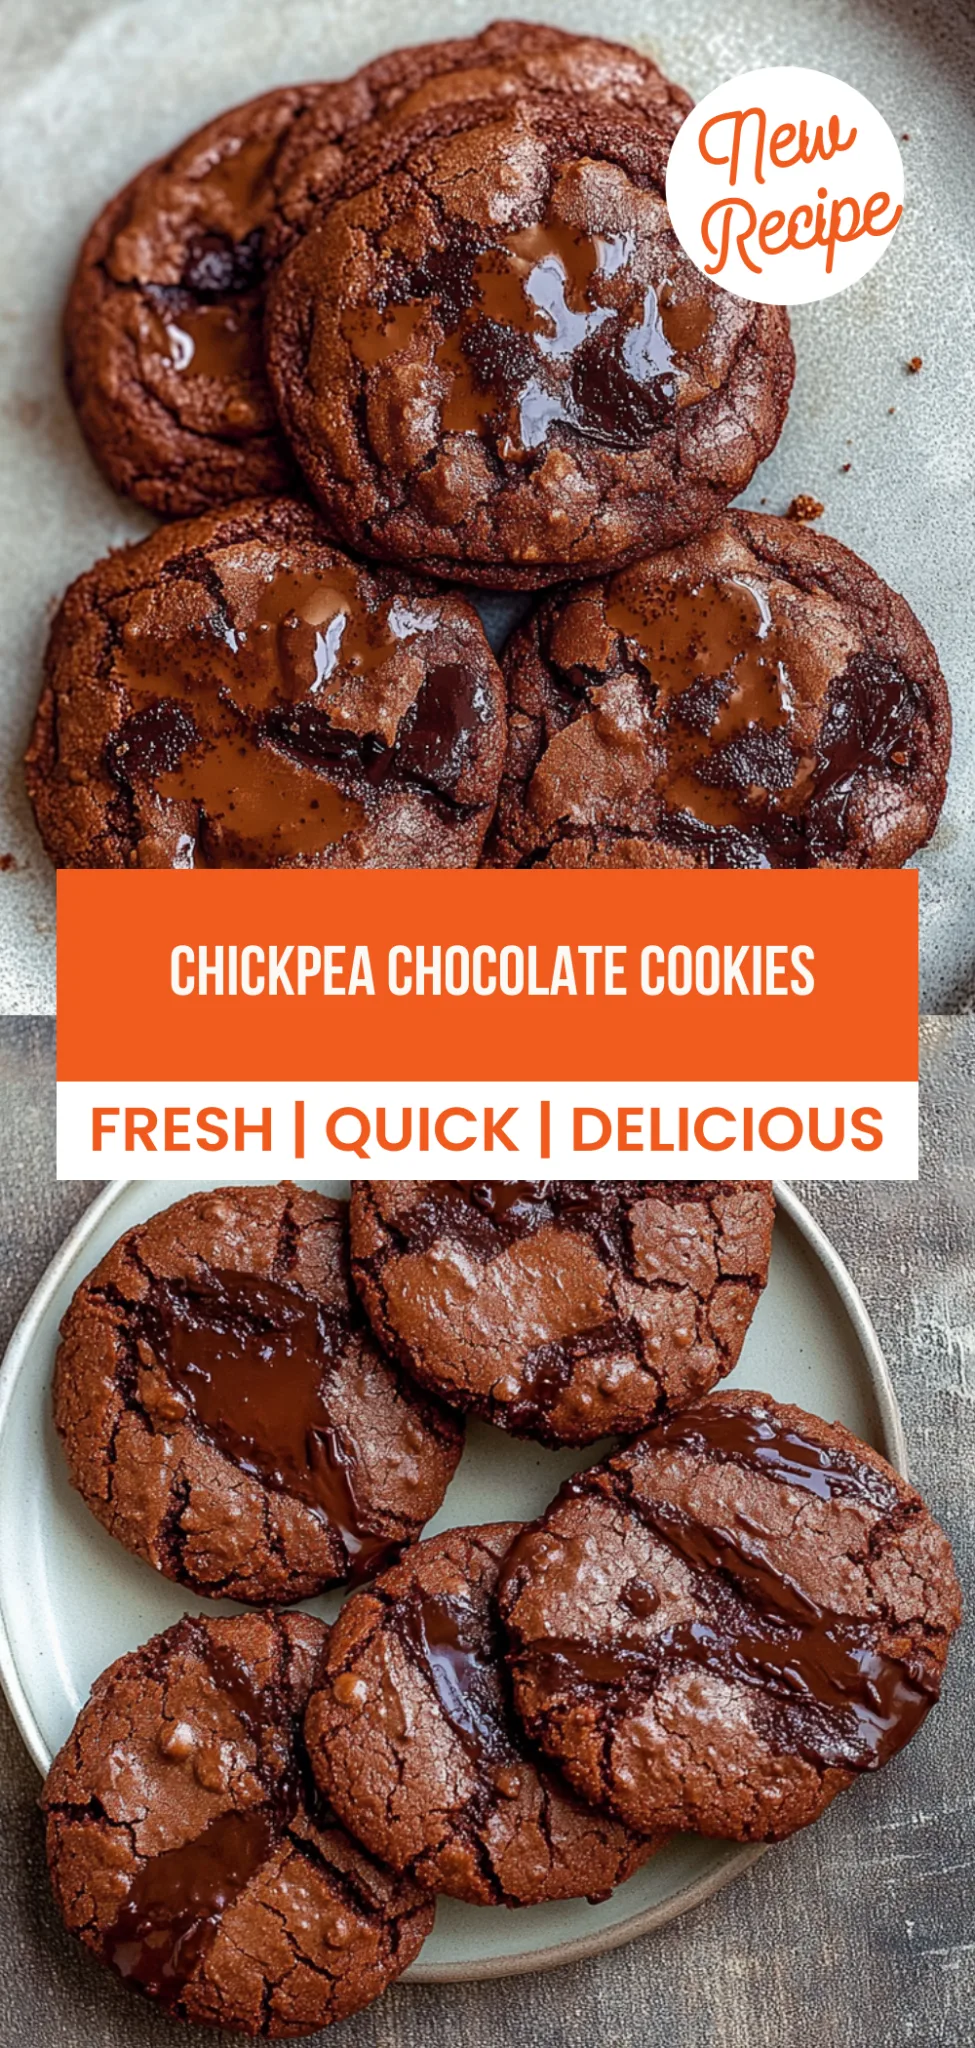
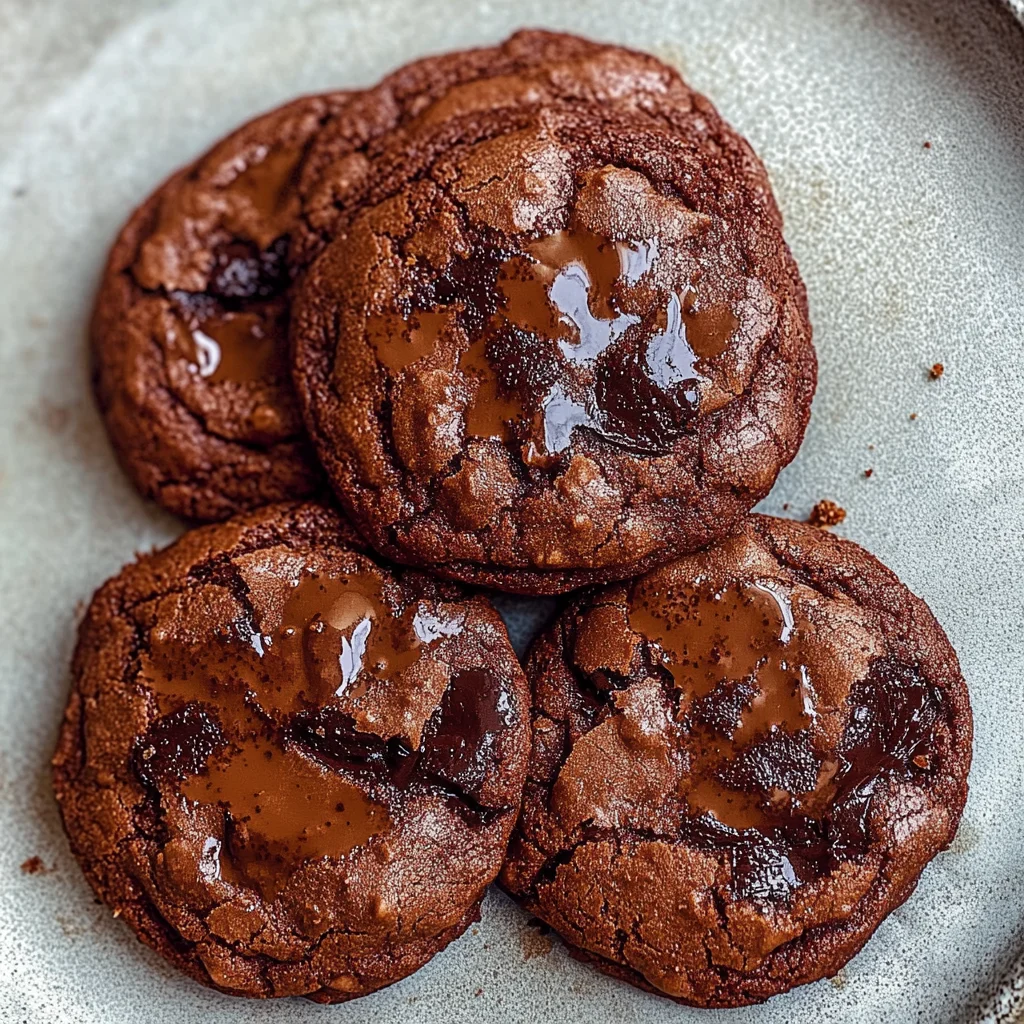
Chickpea Chocolate Cookies: Guilt-Free Indulgence Awaits
There’s nothing quite like the bliss of biting into a warm, gooey Chickpea Chocolate Cookie—where rich dark chocolate meets a subtly nutty flavor that dances on your palate. These cookies are not just delicious; they’re also a protein-packed delight, boasting 5 grams of protein per serving for only 120 calories! I created this recipe during one of those busy weeks when my family craved something sweet but I wanted to keep it healthy and guilt-free. With chickpeas as the star ingredient, these cookies manage to be crispy on the outside, soft on the inside, and incredibly satisfying.
I remember the first time I made these Chickpea Chocolate Cookies; it was a chilly Sunday afternoon, and my teenagers were lounging around the house, moaning about their homework. I decided to whip up something special to lift their spirits. As soon as they took their first bite, my son exclaimed, “No way! These have chickpeas?” It was such a joy to see them devour the cookies in seconds, asking for more while I grinned at their surprise. The twist of using chickpeas instead of flour is what makes these treats stand out from ordinary cookies, and the delighted smiles on my family’s faces were all the reassurance I needed!
Ingredients for the Chickpea Chocolate Cookies
Each ingredient in this dish plays an essential role in flavor and texture. Here’s what you’ll need:
1 cup cooked chickpeas (drained and rinsed): Provides a protein-rich base with a subtle nuttiness.
1/2 cup peanut butter (or any nut butter): Adds creaminess and enhances the cookie’s richness.
1/4 cup honey (or maple syrup for vegan option): Sweetens the cookies while keeping them moist.
1 tsp vanilla extract: Infuses a warm, aromatic flavor that elevates the overall taste.
1/2 cup oats (rolled or quick oats): Contributes chewiness and helps bind the ingredients together.
1/4 cup cocoa powder (unsweetened): Delivers rich chocolate flavor without added sweetness.
1/2 tsp baking powder: Provides lift for a lighter texture in every bite.
1/4 tsp salt: Balances sweetness and enhances the flavors of all ingredients.
- 1/2 cup dark chocolate chips (dairy-free if needed): Offers bursts of chocolatey goodness throughout the cookies.
Step-by-Step Instructions
I recommend starting by preheating your oven to 350°F (175°C) so it’s ready when you are done preparing the dough — this way, you won’t be waiting for the oven while your delicious cookies are ready to bake.
Step 1: Preheat your oven to 350°F (175°C). This sets the stage for perfectly baked cookies. While the oven heats up, grab your food processor and combine the cooked chickpeas, peanut butter, honey, and vanilla extract. I find that blending these wet ingredients until completely smooth is crucial; it helps create a gooey texture that mimics traditional cookie dough.
Step 2: In a mixing bowl, combine the oats, cocoa powder, baking powder, and salt. This step is important because mixing the dry ingredients ensures an even distribution of flavors and leavening agents throughout your cookie dough. I usually use quick oats for a softer texture, but rolled oats work just fine if that’s what you have on hand.
Step 3: Add the chickpea mixture to the dry ingredients and mix until well combined. Make sure to scrape down the sides of your bowl with a spatula to capture every bit of goodness—trust me, you don’t want any dry pockets in there! The mixture should come together into a thick dough that holds its shape well.
Step 4: Fold in the dark chocolate chips gently but thoroughly. I love using dairy-free chips for a healthier twist; they melt beautifully in the cookies! The chocolate should be evenly distributed throughout the dough without overmixing it, which can make your cookies tough.
Step 5: Scoop tablespoon-sized amounts of dough onto a baking sheet lined with parchment paper. This keeps cleanup easy while ensuring your cookies don’t stick. I recommend leaving about two inches between each scoop to allow for spreading as they bake.
Step 6: Flatten each cookie slightly with the back of a spoon. This helps them bake evenly and gives them that classic cookie shape we all love! It’s an easy step that makes a huge difference in presentation when they come out golden brown.
Step 7: Bake in the preheated oven for 15-20 minutes or until the edges are firm but still soft in the center. Keep an eye on them after about 15 minutes; they’re done when they look set around the edges and slightly underbaked in the middle—that’s where they’ll stay chewy!
Step 8: Allow to cool on the baking sheet for about 5 minutes before transferring them to a wire rack to cool completely. This resting time allows them to firm up just enough so they don’t crumble when moving them—patience is key here! Enjoy your guilt-free treat!
What to Serve with Chickpea Chocolate Cookies
This dish is already incredibly filling and balanced, but these sides add extra variety and nutrition to round out your meal perfectly.
Avocado Salad: A refreshing avocado salad tossed with cherry tomatoes, red onion, and a squeeze of lime brings a bright contrast to the rich flavors of the cookies. The creamy texture of the avocados complements the chickpeas while providing healthy fats, which can help keep you satiated longer. My kids love this salad, especially in the summer when we have fresh tomatoes from our garden.
Quinoa and Black Bean Bowl: A warm quinoa bowl mixed with black beans, cilantro, and a touch of lime juice makes for a hearty side that echoes the nutritious vibe of the cookies. The protein boost from quinoa (about 8 grams per cup) adds staying power to your snack or dessert time, making it perfect for after-school munchies when my kids need a little extra energy before sports practice.
Peanut Butter Rice Cakes: Lightly salted rice cakes spread with peanut butter create a satisfying crunch that pairs harmoniously with the chocolatey goodness of the cookies. This combination offers an additional source of protein and healthy fats, making it a great post-workout option for my family. Plus, they are super easy to prepare ahead for busy days!
Cocoa Dusted Almonds: A small bowl of cocoa dusted almonds provides a delightful flavor echo with its chocolatey coating that mirrors the cookies’ ingredients. These nuts offer healthy fats and about 6 grams of protein per ounce, making them a smart snack choice that keeps us feeling full without all the refined sugars. I often pack these for road trips as they are both tasty and satisfying during long drives.
Storage & Serving Tips
To store your Chickpea Chocolate Cookies for meal prep, place them in an airtight container in the fridge where they will stay fresh for up to 5 days. For optimal storage, keep the wet ingredients separate from the dry ingredients; store the 1/2 cup peanut butter, 1/4 cup honey (or maple syrup), and 1 tsp vanilla extract in one container. The dry components, including the 1 cup cooked chickpeas, 1/2 cup oats, 1/4 cup cocoa powder, 1/2 tsp baking powder, and 1/4 tsp salt can be stored together in another container. This will help maintain the integrity of each component.
When reheating, pop the cookies into a preheated oven at 350°F for about 5–7 minutes to restore their chewy texture. Avoid using the microwave as it tends to make them soft and less enjoyable. If you choose to reheat any of the individual wet ingredients—like peanut butter or honey—do so on low heat on the stovetop for just a few seconds until warm, stirring continuously to prevent burning.
Pro tip: Batch cook these Chickpea Chocolate Cookies by doubling the recipe on Sundays and portioning them into containers for easy access throughout the week. Encourage family members to self-assemble their own treats by providing different toppings like shredded coconut or nuts for added variety. For a change-up during meal prep, consider swapping out peanut butter with almond butter or adding an extra scoop of protein powder to boost nutrition without changing flavor. To keep your cookies moist and flavorful, store them with a small piece of bread in the container; this helps maintain moisture without making them soggy.
Conclusion
These Chickpea Chocolate Cookies have become a regular rotation recipe in my house, and I whip them up at least twice a month because they’re not only delicious but also packed with 120 calories of guilt-free goodness. The secret lies in the chickpeas, which provide a unique texture and boost of protein that you simply won’t find in traditional cookie recipes. Give this one a try this week. I promise it’ll become a regular rotation meal in your house too.
Chickpea Chocolate Cookies
Ingredients
Method
- Preheat your oven to 350°F (175°C).
- In a food processor, combine the chickpeas, peanut butter, honey, and vanilla extract. Blend until smooth.
- In a mixing bowl, combine the oats, cocoa powder, baking powder, and salt.
- Add the chickpea mixture to the dry ingredients and mix until well combined.
- Fold in the dark chocolate chips.
- Scoop tablespoon-sized amounts of dough onto a baking sheet lined with parchment paper.
- Flatten each cookie slightly with the back of a spoon.
- Bake in the preheated oven for 15-20 minutes, or until the edges are firm.
- Allow to cool on the baking sheet for 5 minutes before transferring to a wire rack.